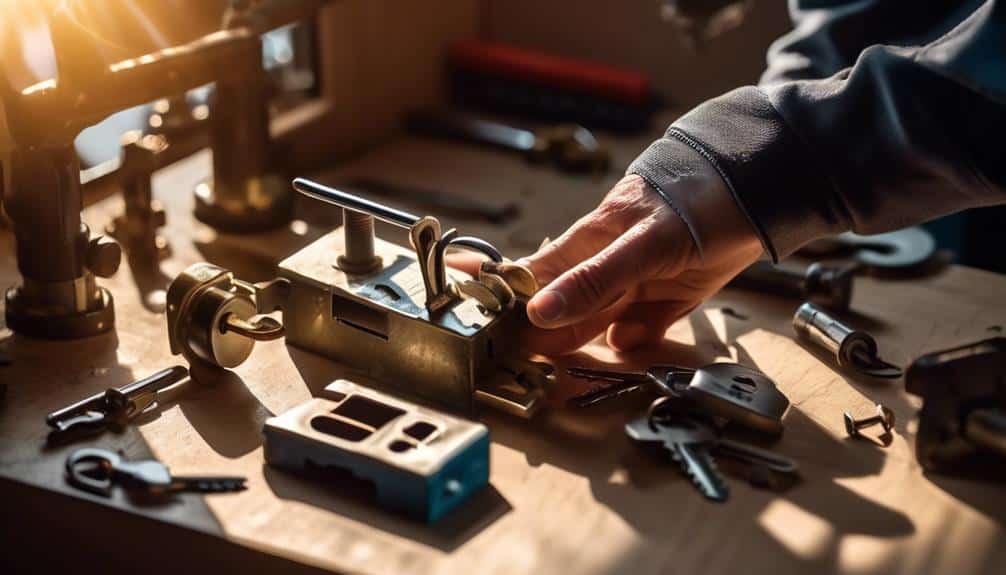
Are you tired of struggling with a broken mailbox lock? Well, fear not, because we have got you covered!
In this guide, we will provide you with 11 essential tips that will help you repair your mailbox lock like a pro.
From assessing the extent of the damage to securing the lock with proper fasteners, we will walk you through each step of the process.
So, if you're ready to regain control over your mailbox, keep reading to discover the secrets of successful mailbox lock repair.
Assessing the Lock Damage
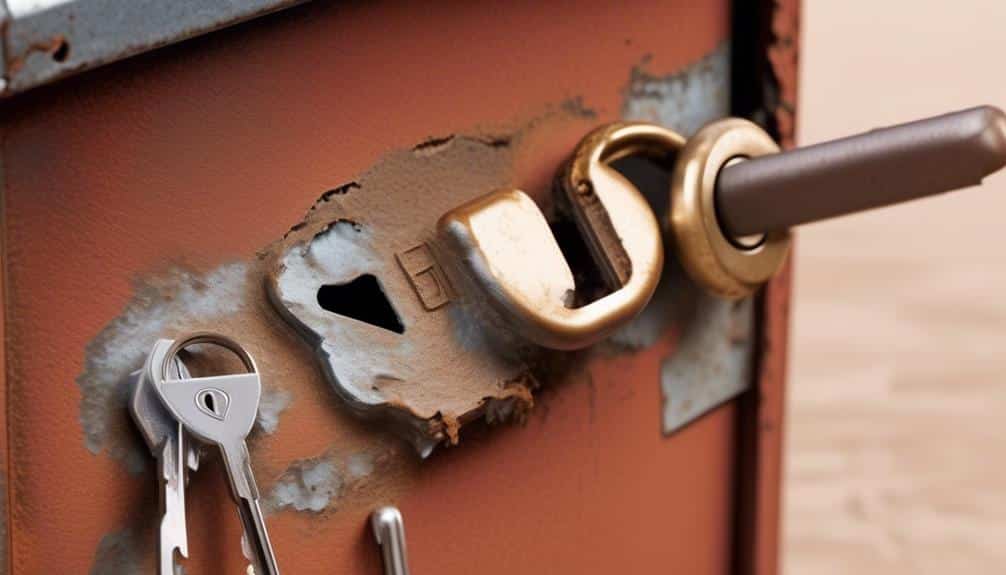
To assess the damage to your mailbox lock, carefully examine the lock for any signs of wear, rust, or malfunctioning components. Lock damage assessment is crucial for determining the extent of the problem and identifying the appropriate lock repair techniques.
When inspecting the lock, look for any visible signs of wear, such as scratches or dents on the surface. These can indicate that the lock has been tampered with or subjected to excessive force. Additionally, check for rust or corrosion, as this can affect the lock's functionality and make it more susceptible to damage.
Next, test the lock by inserting and turning the key. Pay attention to any resistance or difficulty in operating the lock. If the key doesn't turn smoothly or gets stuck, there may be internal issues that require repair.
Furthermore, examine the lock's components, such as the latch or bolt mechanism. Ensure that they're properly aligned and functioning correctly. Any loose or broken parts should be repaired or replaced to ensure the lock's effectiveness.
Gathering the Necessary Tools
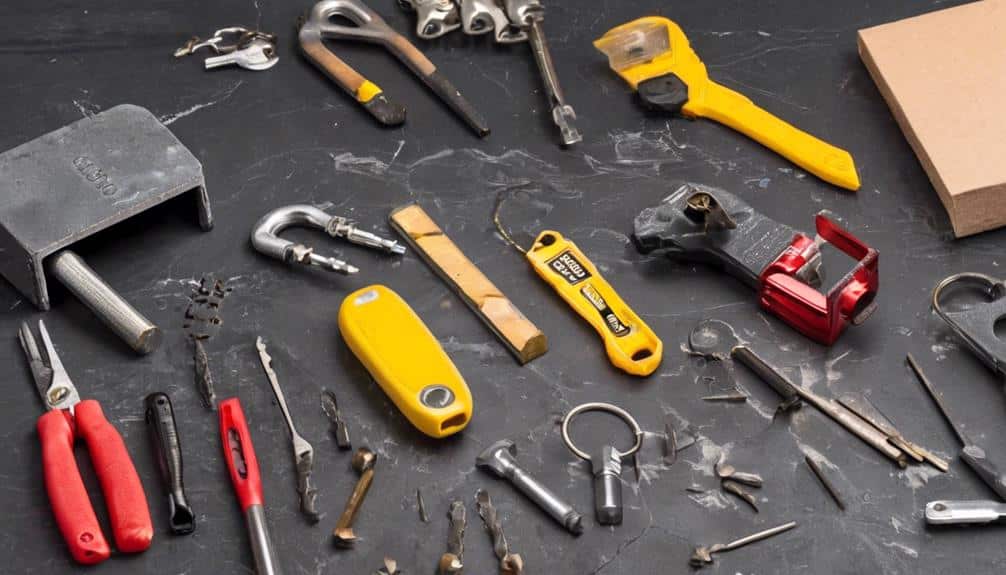
To start gathering the necessary tools for repairing your mailbox lock, make sure you have a few essential items on hand. Having the right lock repair tools will ensure a smooth and efficient repair process.
First and foremost, you'll need a screwdriver. This tool is essential for removing the screws that hold the lock in place. Make sure you have both a flathead and a Phillips head screwdriver, as different locks may require different types of screws.
Additionally, having a pair of needle-nose pliers is crucial. These pliers will help you manipulate small parts and remove any broken pieces from the lock.
A lubricant such as WD-40 is also necessary to keep the lock mechanism working smoothly.
Lastly, having a replacement lock cylinder on hand is a good idea in case the current lock is irreparable.
Removing the Broken Lock
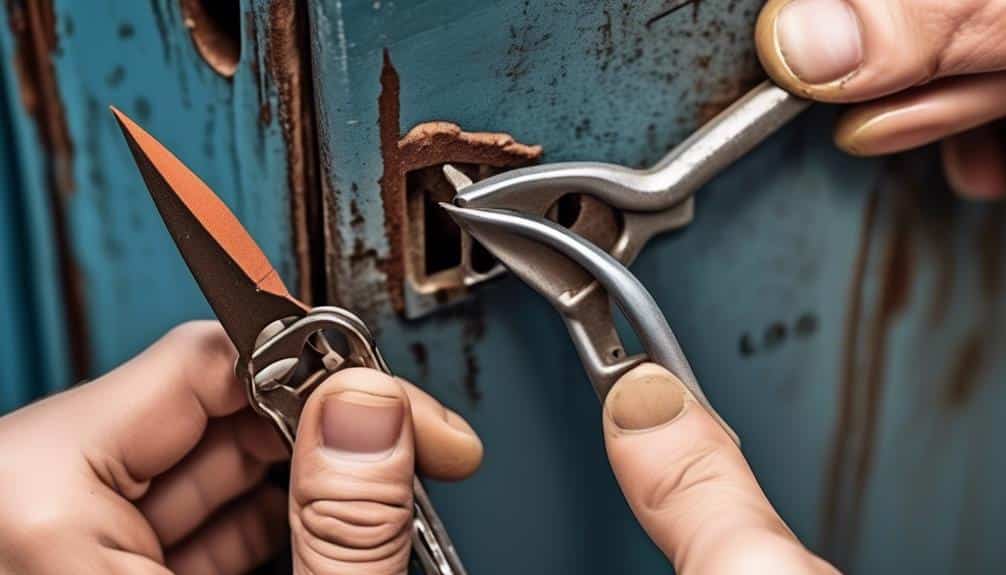
To begin removing the broken lock, carefully examine the lock mechanism and identify any visible screws holding it in place. Once you have located the screws, use a screwdriver to remove them one by one. Set the screws aside in a safe place, as you'll need them later for installing the new lock. With the screws removed, you can now gently pull the broken lock away from the mailbox door. Be cautious not to apply excessive force, as this can cause further damage to the door or the lock mechanism.
Next, take a moment to assess the condition of the lock cylinder. If it's intact and undamaged, you may be able to reuse it with the new lock. However, if the cylinder is broken or worn out, it's advisable to replace it as well. Contact a locksmith service specializing in repairing mailbox locks for assistance with finding the right replacement cylinder.
Remember to take note of the specific make and model of your mailbox lock, as this information will be helpful when purchasing a new lock and cylinder. Keep in mind that professional locksmith services can offer expert advice and assistance in selecting the most suitable lock for your mailbox.
Cleaning and Lubricating the Lock Mechanism
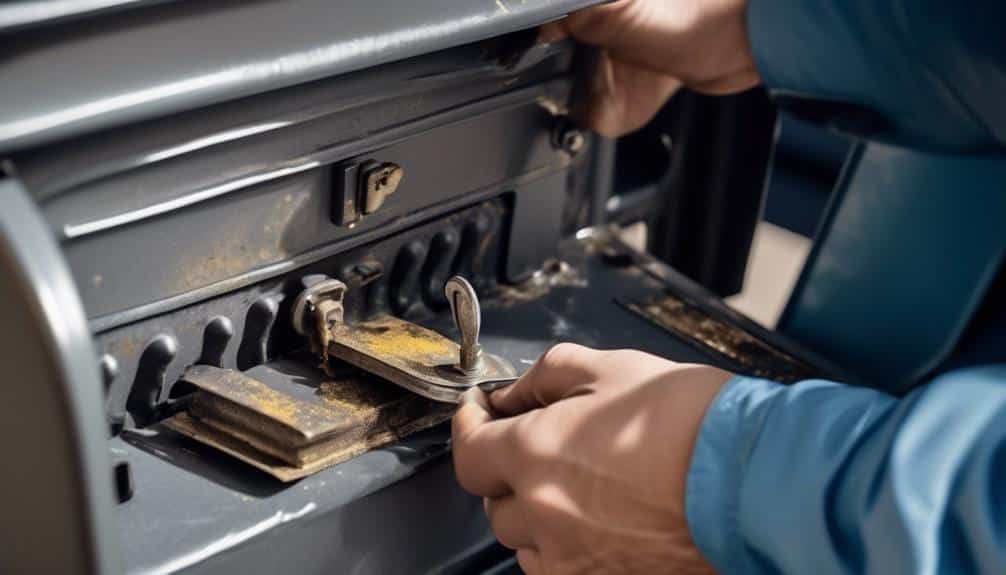
After removing the broken lock, the next step is to clean and lubricate the lock mechanism to ensure smooth operation. Proper maintenance of the lock mechanism is essential to prevent further damage and extend the lifespan of your mailbox lock. Here are some cleaning techniques and lubrication methods that you can use:
| Cleaning Techniques | Lubrication Methods |
|---|---|
| Use a soft brush or cloth to remove dust and debris from the lock mechanism. | Apply a small amount of graphite lubricant to the keyhole and other moving parts of the lock. Graphite is ideal for lubricating locks as it does not attract dirt and dust. |
| Use a mild detergent solution to clean any sticky or greasy residue from the lock mechanism. Rinse thoroughly and dry with a clean cloth. | Avoid using oil-based lubricants such as WD-40 as they can attract dirt and gum up the lock mechanism over time. |
| For stubborn dirt or rust, you can use a rust remover or penetrating oil to loosen and remove the debris. Make sure to follow the manufacturer's instructions. | Silicone spray or Teflon-based lubricants can also be used to lubricate the lock mechanism. These types of lubricants provide long-lasting protection against rust and corrosion. |
Remember to always test the lock after cleaning and lubricating to ensure smooth operation. By following these cleaning techniques and lubrication methods, you can maintain the functionality of your mailbox lock and keep it working smoothly for years to come.
Replacing the Lock Cylinder
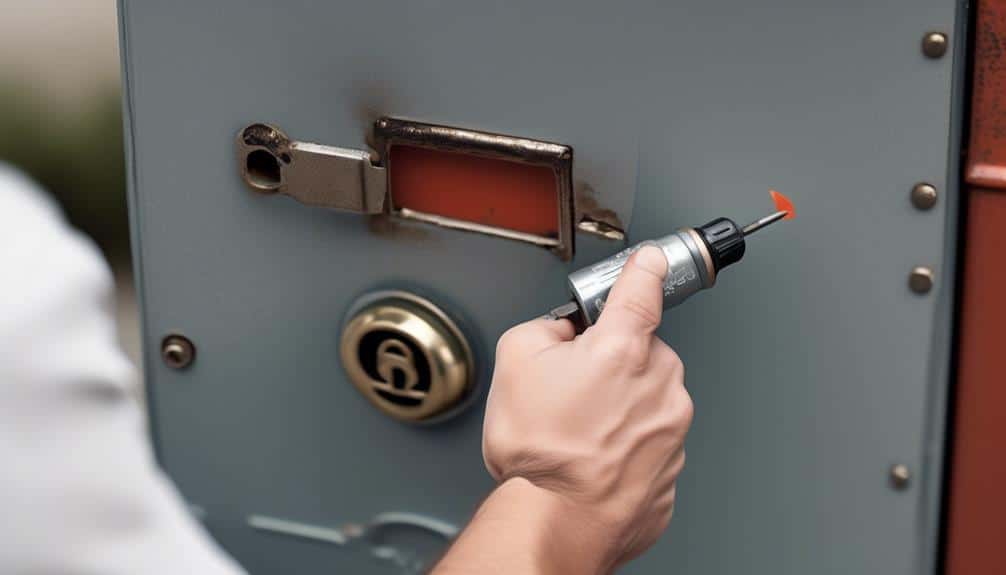
The first step in replacing the lock cylinder is to carefully remove the retaining clip or screw that holds it in place. Once you have successfully removed the retaining clip or screw, you can proceed with the lock cylinder replacement.
Here are some essential tips to guide you through this process:
- Gather the necessary tools: Before you begin, make sure you have all the tools you need, such as a screwdriver or pliers, to remove the retaining clip or screw and install the new lock cylinder.
- Choose the right replacement: Ensure that you select a lock cylinder that's compatible with your mailbox. Consider the brand, size, and type of lock cylinder that you need for a perfect fit.
- Follow the manufacturer's instructions: Each lock cylinder replacement may have specific installation steps. It's crucial to carefully read and follow the manufacturer's instructions to ensure a smooth installation process.
- Test the new lock cylinder: Once you have installed the new lock cylinder, test it to ensure that it functions properly. Insert the key and try unlocking and locking the mailbox to troubleshoot any issues.
- Secure the lock cylinder: Finally, secure the lock cylinder in place by reattaching the retaining clip or screw. Ensure that it's tightly secured to prevent any tampering or unauthorized access.
Installing a New Lockset
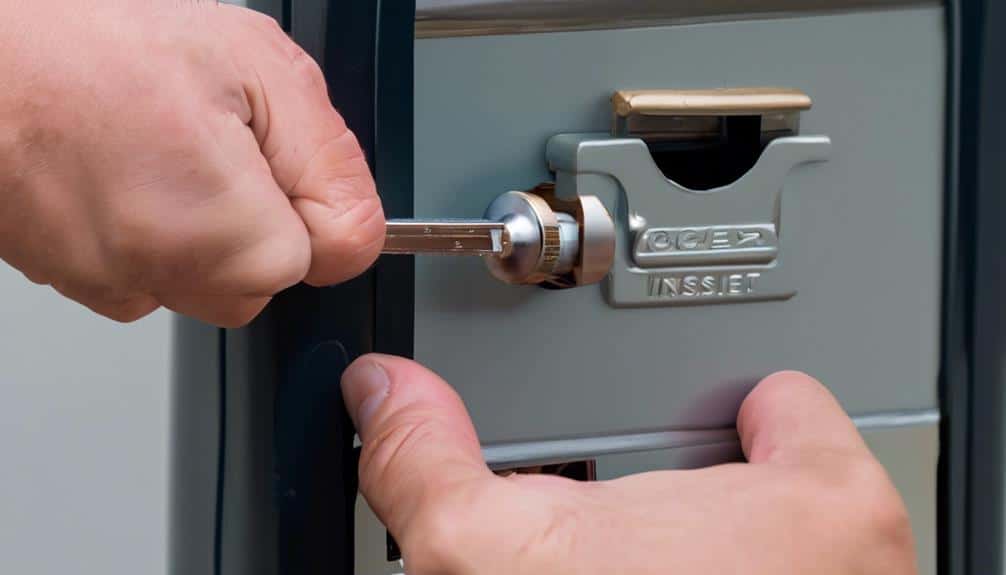
Now let's move on to the process of installing a new lockset for your mailbox. Installing a lockset may seem daunting, but with the right tools and a little patience, you can easily complete this task. Here are some lockset installation tips to help you get started.
First, gather all the necessary tools for the installation. You'll need a screwdriver, a drill, a hole saw, and a tape measure. Make sure you have the correct size lockset for your mailbox before beginning the installation process.
Next, remove the old lockset by unscrewing the screws that hold it in place. Once the old lockset is removed, measure the size of the hole in the mailbox door. Use the hole saw to create a hole of the same size in the door for the new lockset.
After creating the hole, insert the new lockset into the hole and secure it with screws. Make sure the lockset is aligned correctly and functions smoothly before tightening the screws.
Adjusting the Lock Alignment
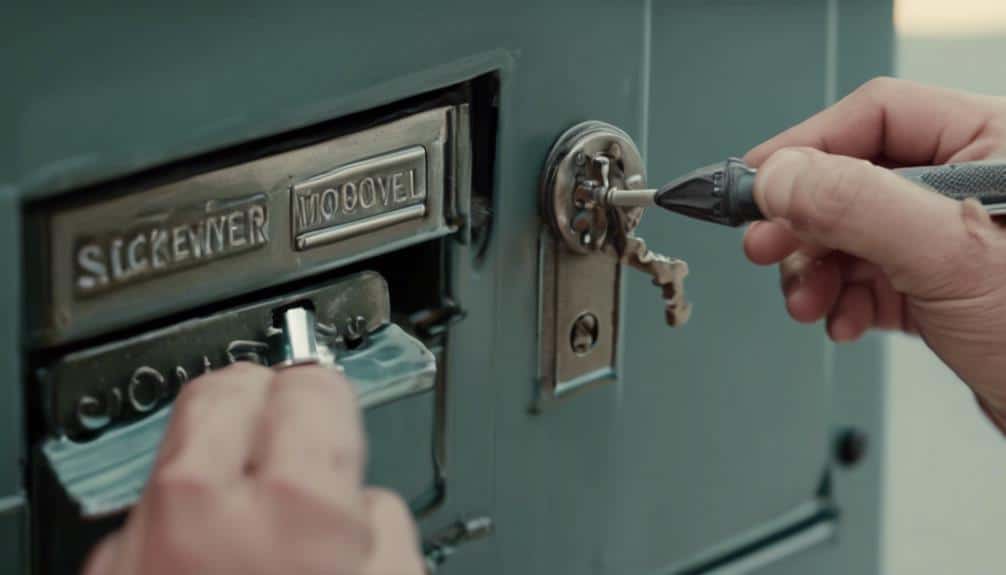
Now that you've installed a new lockset, it's time to ensure that the lock alignment is correct. This step is crucial to ensure that your mailbox lock operates smoothly and securely.
In this section, we'll discuss troubleshooting common lock alignment issues and provide techniques for adjusting the alignment for optimal performance.
Lock Alignment Troubleshooting
To adjust the alignment of the lock on your mailbox, consider using a simple technique. Troubleshooting lock alignment can be done with a few easy steps:
- Inspect the lock: Check for any visible signs of damage or misalignment, such as loose screws or bent components.
- Loosen the screws: Use a screwdriver to loosen the screws holding the lock in place. This will allow you to adjust the position of the lock.
- Align the lock: Gently move the lock until it's properly aligned with the latch mechanism. Ensure that it's centered and level.
- Tighten the screws: Once the lock is in the desired position, tighten the screws to secure it in place.
- Test the lock: After making adjustments, test the lock to ensure it functions properly.
Alignment Adjustment Techniques
Consider using a simple technique to adjust the alignment of the lock on your mailbox.
Sometimes, due to wear and tear or improper installation, the lock may not align correctly, making it difficult to open or close the mailbox.
To adjust the alignment, start by loosening the screws that hold the lock in place. Gently move the lock up or down until it's properly aligned with the latch. Once aligned, tighten the screws back in place.
If the lock still doesn't align properly, you may need to try adjusting the latch or the strike plate on the mailbox door.
These adjustment techniques can help troubleshoot and resolve alignment issues, ensuring smooth operation of your mailbox lock.
Testing the Lock Functionality
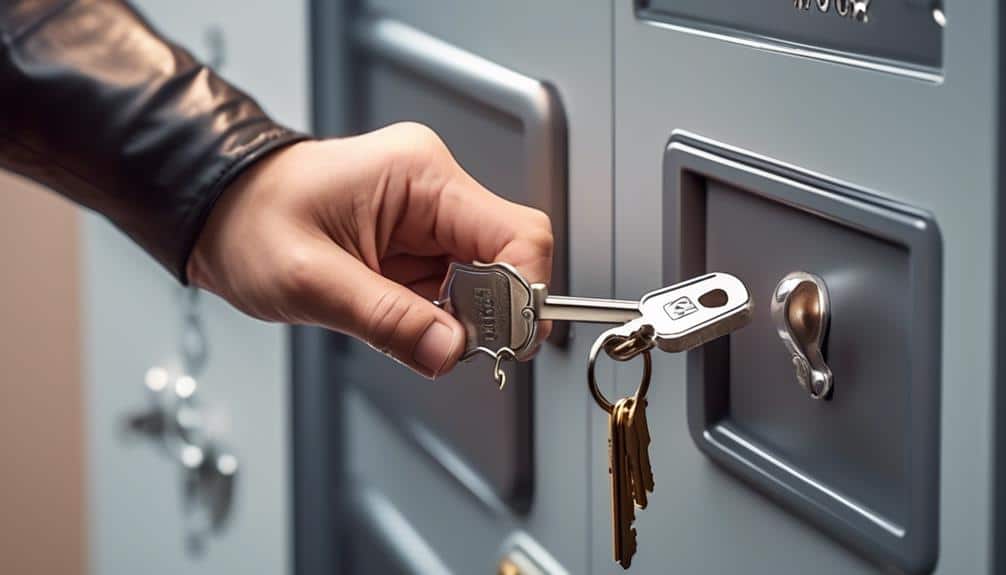
Now that you have adjusted the lock alignment, it's time to test the functionality of the mailbox lock.
To ensure that the lock is working properly, there are a few techniques you can use for a thorough inspection.
Lock Inspection Techniques
You can quickly and effectively test the functionality of a mailbox lock by following these simple inspection techniques:
- Visual Inspection:
First, visually inspect the lock for any signs of damage, rust, or misalignment. Look for any loose or missing parts that may affect the lock's functionality.
- Key Insertion:
Insert the key into the lock and turn it gently in both directions. Pay attention to how smoothly the key turns and whether it gets stuck or feels stiff.
- Lock Engagement:
Next, test the lock's engagement by opening and closing the mailbox door. Ensure that the lock properly latches and unlatches without any resistance or difficulty.
- Key Extraction:
Try removing the key from the lock. It should come out smoothly without any sticking or resistance.
- Lock Lubrication:
Troubleshooting Common Issues
To troubleshoot common issues with mailbox locks, start by testing the lock's functionality using the following techniques.
First, check the lock alignment by inserting the key and turning it gently. If the key doesn't turn smoothly or gets stuck, it may indicate misalignment. To fix this, lubricate the lock with a graphite-based lubricant or adjust the strike plate.
Additionally, inspect the lock for any visible damage or signs of wear. Look for bent or broken pins, rust, or loose parts. If you notice any issues, consider replacing the lock or seeking professional help.
Remember to clean the lock regularly to prevent debris buildup.
Lubrication for Smooth Operation
For smooth operation and to test the functionality of the lock, consider lubricating it with a graphite-based lubricant or adjusting the strike plate if necessary.
Proper lock lubrication is essential to ensure your mailbox lock operates smoothly and effectively. Here are some lubrication techniques to help you maintain your mailbox lock:
- Apply a small amount of graphite-based lubricant to the key and insert it into the lock. Turn the key back and forth to distribute the lubricant evenly.
- Use a soft cloth to wipe away any excess lubricant, ensuring a clean and tidy lock.
- If the lock still feels stiff after lubrication, try adjusting the strike plate. Loosen the screws and move the strike plate slightly until the lock engages smoothly when closed.
- Test the lock multiple times to ensure it opens and closes effortlessly.
- Regularly check and reapply lubricant as needed to prevent lock jamming and prolong the life of your mailbox lock.
Securing the Lock With Proper Fasteners
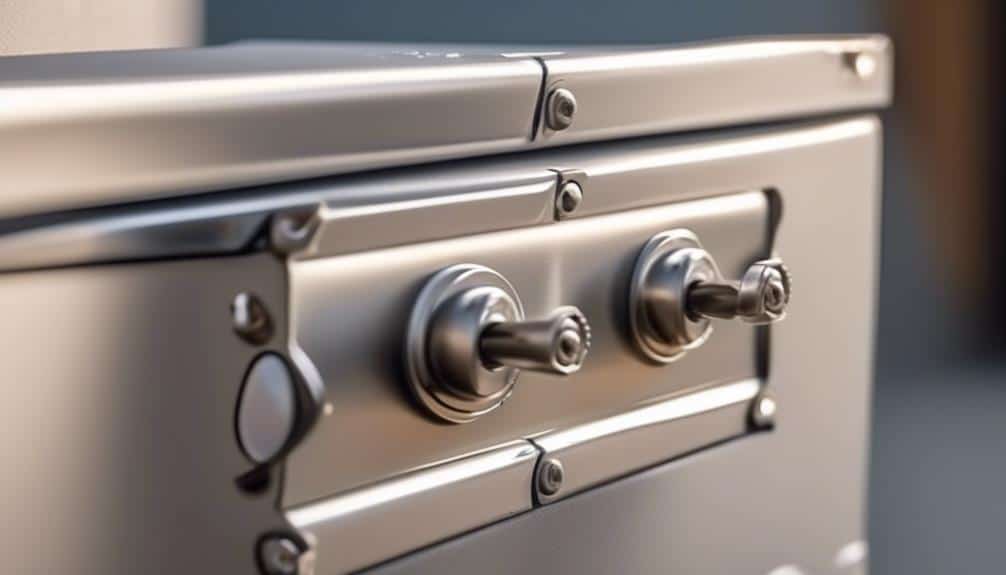
Properly securing the lock with the right fasteners is essential for ensuring the safety and functionality of your mailbox. Choosing the appropriate fastener type and ensuring proper installation can help prevent unauthorized access and keep your mail secure. Here are some common fastener types used for mailbox lock repair:
| Fastener Type | Description | Benefits |
|---|---|---|
| Machine Screws | Used to secure the lock to the mailbox door or frame | Provides a secure attachment and prevents tampering |
| Lock Nuts | Used in conjunction with machine screws to secure the lock | Provides added stability and prevents the lock from coming loose |
| Self-tapping Screws | Ideal for attaching the lock to metal mailboxes | Easy to install and creates a secure connection |
When installing the fasteners, make sure to follow these steps:
- Align the lock properly with the holes on the mailbox door or frame.
- Insert the fasteners into the holes and tighten them securely.
- Use a wrench or screwdriver to ensure that the fasteners are tightened properly.
Preventing Future Lock Issues
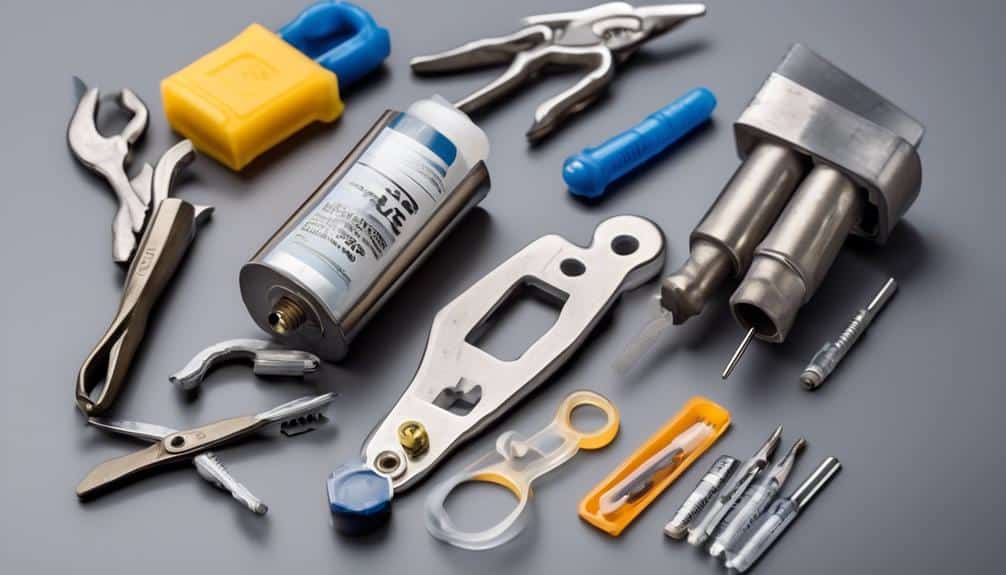
To prevent future lock issues, it's important to perform regular maintenance on your mailbox lock. This includes cleaning the lock mechanism and lubricating it with a graphite-based lubricant.
Additionally, being aware of common lock problems such as key sticking or difficulty turning, and knowing the appropriate solutions, will help you address any issues promptly and effectively.
Maintenance Tips for Locks
Regular maintenance and proper care are essential for ensuring the longevity and smooth operation of locks, preventing potential issues down the line. Here are some maintenance tips to keep your locks in top shape:
- Clean the lock regularly: Dust, dirt, and debris can accumulate in the lock mechanism, causing it to jam or become difficult to turn. Regularly clean the lock using a soft brush or compressed air.
- Lubricate the lock: Apply a small amount of graphite or silicone-based lubricant to the keyway and the moving parts of the lock. This helps reduce friction and keeps the lock operating smoothly.
- Check for loose screws or bolts: Over time, screws and bolts can become loose, affecting the lock's performance. Regularly inspect the lock and tighten any loose hardware.
- Avoid using excessive force: When turning the key or using the lock, avoid using excessive force. This can damage the lock mechanism and lead to costly repairs.
- Schedule professional maintenance: Consider scheduling regular maintenance with a professional locksmith. They can inspect the lock, make any necessary adjustments, and ensure it's in optimal working condition.
Common Lock Problems and Solutions
To prevent future lock issues and ensure the longevity of your locks, it's important to address common lock problems promptly. Regular lock maintenance is key in preventing these issues.
One common problem is a key that gets stuck or doesn't turn smoothly. This can often be solved by cleaning the lock mechanism and lubricating it with graphite powder or a silicone-based lubricant.
Another common issue is a loose lockset, which can be tightened by tightening the screws on the lockset plate.
If your lock isn't latching properly, the strike plate may need to be adjusted or replaced.
For DIY lock repair, it's important to have the right tools and follow instructions carefully.
Maintaining and Servicing the Lock Regularly
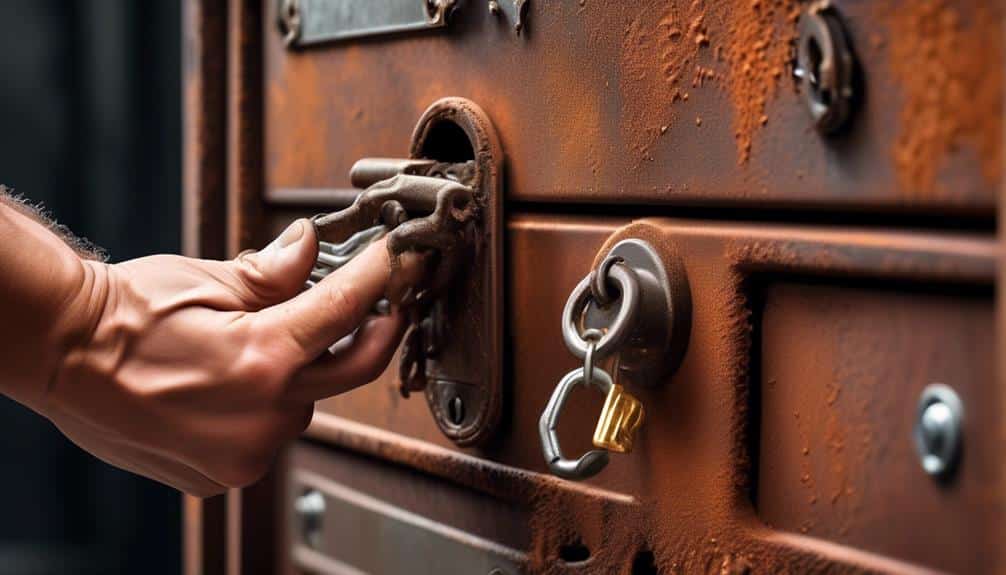
Regularly maintaining and servicing your mailbox lock is essential for optimal functionality and security. By implementing proper lock maintenance, you can prolong the life of your lock and ensure that your mail is safe from theft or tampering.
Here are some important tips to help you keep your mailbox lock in excellent condition:
- Clean the lock regularly: Dust, dirt, and debris can accumulate in the lock mechanism over time, causing it to become stiff or difficult to turn. Use a soft brush or compressed air to remove any buildup and keep the lock clean.
- Lubricate the lock: Applying a small amount of graphite or silicone-based lubricant to the lock cylinder can help reduce friction and ensure smooth operation. Avoid using oil-based lubricants as they can attract dirt and grime.
- Check for loose or damaged parts: Regularly inspect the lock for any loose or damaged parts such as screws, springs, or pins. Tighten or replace them as needed to maintain the lock's integrity.
- Test the lock regularly: Periodically test the lock by inserting the key and turning it to ensure it operates smoothly. If you encounter any resistance or difficulty, it may be a sign that the lock needs attention.
- Contact a professional locksmith: If you encounter any major issues or concerns with your mailbox lock, it's best to seek the assistance of a professional locksmith. They have the expertise and tools to diagnose and repair any problems effectively.
Frequently Asked Questions
How Long Does It Typically Take to Repair a Mailbox Lock?
On average, repairing a mailbox lock can take anywhere from 30 minutes to an hour. It depends on the complexity of the lock and the extent of the damage.
To repair a mailbox lock, you'll need to follow a few simple steps.
First, remove the old lock by unscrewing it from the mailbox.
Then, insert the new lock and secure it in place.
Can I Use Any Type of Lubricant to Clean and Lubricate the Lock Mechanism?
Yes, you can use a lubricant to clean and lubricate the lock mechanism for lock maintenance. However, not all lubricants are suitable for this task. It's best to use graphite powder or silicone-based lubricant specifically designed for lock mechanisms.
These lubricants will help keep the lock functioning smoothly and prevent any potential issues. Regular maintenance and lubrication will prolong the life of your mailbox lock and ensure its proper operation.
Are There Any Specific Safety Precautions I Should Take When Removing a Broken Lock?
When removing a broken lock, there are some safety precautions you should follow.
Firstly, make sure to wear gloves to protect your hands from any sharp edges.
Use the appropriate tools and lock removal techniques to avoid causing further damage.
Once the lock is removed, dispose of it properly to prevent any potential harm.
Taking these precautions will ensure a safe and effective removal process.
What Are Some Common Signs That Indicate a Mailbox Lock Needs to Be Replaced?
If your mailbox lock is causing you trouble, it's time for a replacement. Signs of a faulty mailbox lock include difficulty inserting or turning the key, a loose or wobbly lock, or if the lock is completely broken.
Don't let a broken lock compromise the security of your mail. Replace it promptly to ensure the safety of your important documents and packages.
How Often Should I Clean and Lubricate the Lock Mechanism to Prevent Future Lock Issues?
To prevent future lock issues, it's important to regularly clean and lubricate your mailbox lock mechanism. Cleaning and lubricating once every six months is a good rule of thumb.
Use a dry cloth to remove any dirt or debris, then apply a small amount of graphite lubricant or silicone spray to the keyhole and moving parts. These lubricants are the best for lock mechanisms as they provide long-lasting protection without attracting dust or dirt.

