

They say, 'If it ain't broke, don't fix it.' But what if it is broke? That's where we come in.
Welcome to our how-to guide on fixing old residential locks. Whether you're a homeowner looking to save some money or a DIY enthusiast seeking a new challenge, we've got you covered.
In this guide, we'll walk you through the step-by-step process of assessing the condition of your lock, gathering the necessary tools, and taking apart the lock cylinder. But that's just the beginning.
Stay tuned to discover the secrets of cleaning, repairing, and lubricating your lock, as well as enhancing its security measures.
So, if you're ready to unlock a world of knowledge, let's dive in!
Assessing Lock Condition

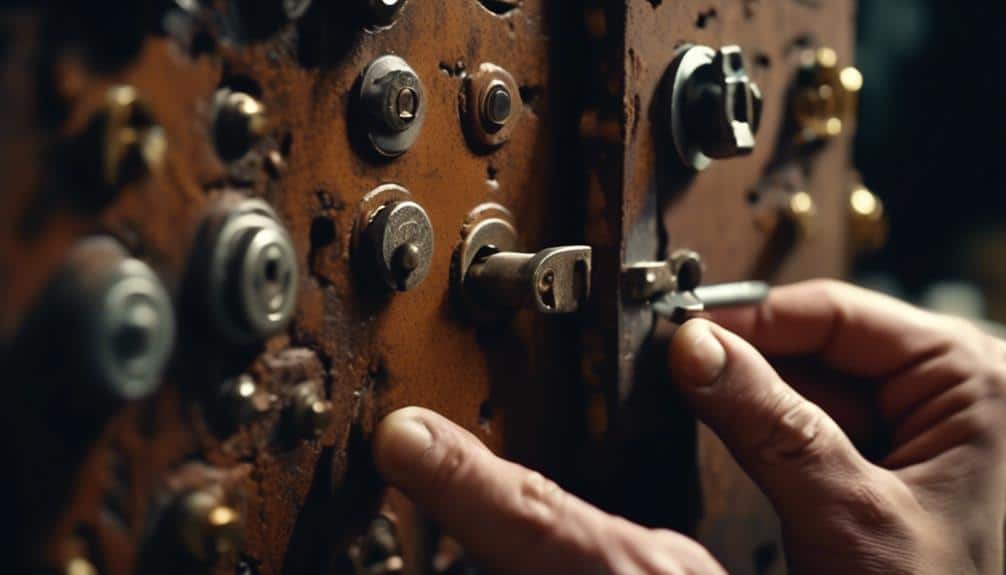
When assessing the condition of old residential locks, we carefully examine the keyway, cylinder, and overall functionality to determine the extent of any potential issues. Lock maintenance is crucial to ensure the security of a property, so it's important to conduct a thorough assessment.
The keyway is the part of the lock where the key is inserted, and it's often prone to wear and tear. We inspect the keyway for any signs of damage, such as bent or worn pins, which could affect the lock's ability to function properly.
Next, we examine the cylinder, which houses the key pins and springs. We check for any signs of corrosion or buildup, as these can hinder the smooth operation of the lock.
Additionally, we test the overall functionality of the lock, ensuring that it operates smoothly and without any sticking or jamming. This lock troubleshooting process allows us to identify any potential issues and determine the necessary repairs or replacements.
Gathering Necessary Tools
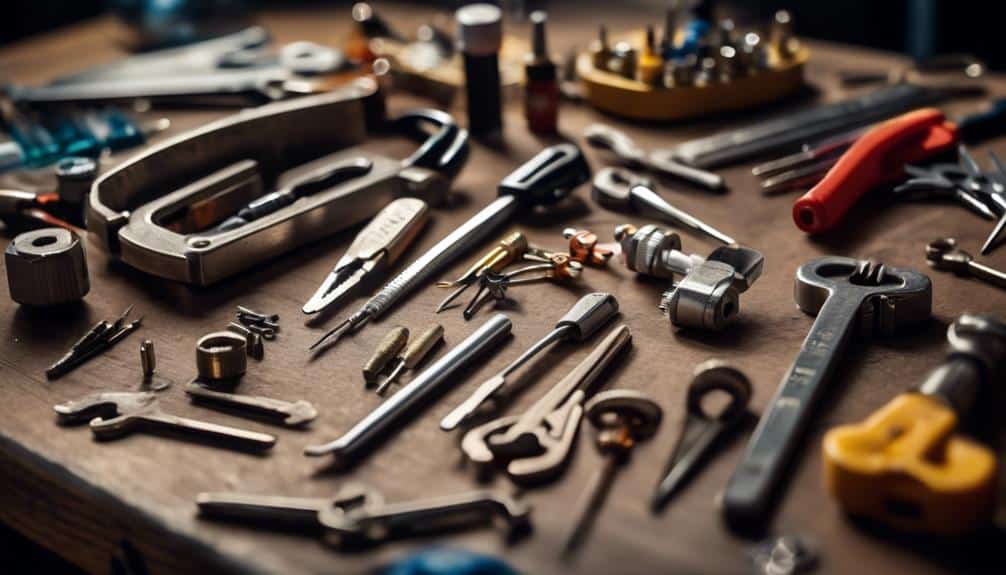
After assessing the condition of old residential locks, we move on to the next step of gathering the necessary tools for the repair or maintenance process. When it comes to fixing old residential locks, having the right tools is crucial. Without the proper tools, it can be challenging to address common issues that occur with these types of locks.
One option for finding lock repair specialists is to consult with local locksmiths. They've the expertise and specialized equipment needed to repair and maintain old residential locks. Additionally, locksmiths can provide valuable advice on the specific tools required for the job. Online resources can also be helpful in locating lock repair specialists in your area.
When dealing with old residential locks, there are several common issues that may arise. These include broken or worn-out keyways, malfunctioning lock mechanisms, and damaged lock cylinders. To effectively address these issues, you'll need a variety of tools such as screwdrivers, pliers, tweezers, and lubricants. Additionally, you may require specific tools like lock pick sets or tension wrenches for more complex repairs.
It is essential to gather all the necessary tools before starting the repair or maintenance process. This will ensure that you have everything you need to fix the lock efficiently and effectively. Taking the time to gather the right tools will save you from unnecessary frustration and potential damage to the lock.
Removing the Lock Cylinder

Now that we've gathered the necessary tools, let's move on to removing the lock cylinder.
The first step is to disassemble the cylinder by removing any screws or bolts holding it in place.
Once the cylinder is exposed, we can extract the lock pins using a pinning tool.
Disassembling the Cylinder
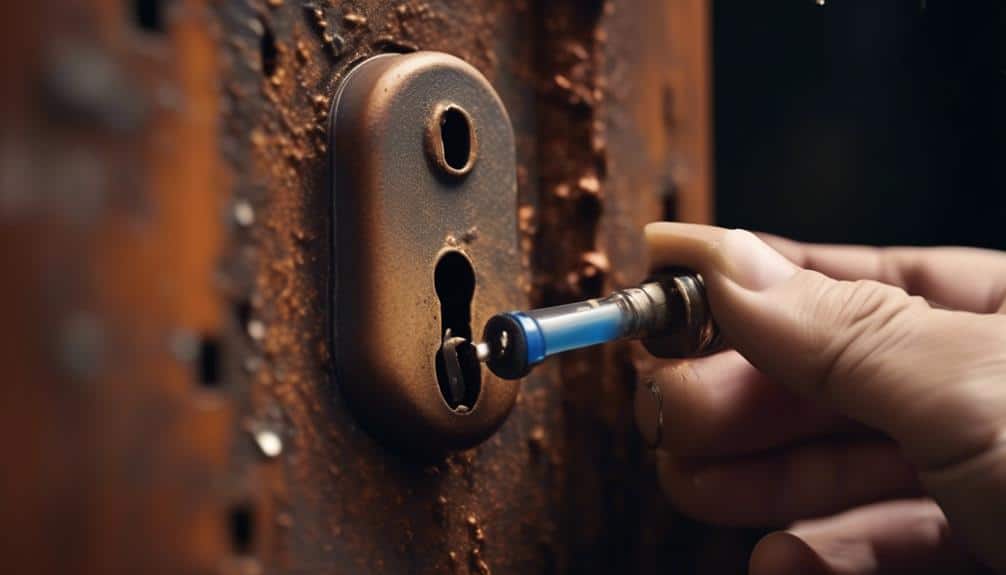
To begin the process of disassembling the cylinder and removing the lock cylinder, we carefully insert a narrow flathead screwdriver into the small slot located on the side of the lock casing. This step is crucial in order to gain access to the inner mechanisms of the lock and perform necessary repairs or maintenance.
Once the screwdriver is in place, we apply gentle pressure and turn it counterclockwise to release the cylinder from its housing. As we remove the cylinder, it's important to keep track of any small springs or pins that may become dislodged.
Here are some key points to keep in mind during this process:
- Ensure the lock is in the unlocked position before attempting to remove the cylinder.
- Avoid using excessive force, as this can damage the lock and make rekeying the cylinder more difficult.
- If the cylinder is stuck or difficult to remove, try lubricating it with a small amount of graphite powder.
Extracting the Lock Pins
Continuing the disassembly process, we proceed to extract the lock pins, effectively removing the lock cylinder from its housing. Extracting the lock pins is a crucial step in fixing old residential locks, as it allows us to access and replace worn or damaged pins. To ensure a smooth extraction process, we employ various lock pin extraction techniques, depending on the lock's design and condition. Troubleshooting common lock pin extraction issues is also essential to overcome any potential challenges that may arise during the process. Here is a table outlining some of the commonly used lock pin extraction techniques and how to troubleshoot common issues:
| Technique | Troubleshooting Steps |
|---|---|
| Pin Tweezers | 1. Ensure tweezers are aligned properly |
| 2. Apply gentle pressure to grip the pin securely | |
| Extractor Tool | 1. Insert the tool into the pin chamber correctly |
| 2. Rotate the tool slowly to catch the pin | |
| Broken Key Extractor | 1. Clean the broken key extractor before use |
| 2. Insert the extractor into the keyway |
Removing the Retaining Clip
After successfully extracting the lock pins, the next step in fixing old residential locks involves removing the retaining clip to take out the lock cylinder. The retaining clip is a small metal piece that holds the lock cylinder in place within the lock housing. However, dealing with retaining clips can sometimes be tricky, as they can become rusted or damaged over time. Here are some common issues with retaining clips:
- Rust: Rust can cause the retaining clip to become stuck, making it difficult to remove.
- Wear and tear: Retaining clips can wear out or break, especially in older locks.
- Improper installation: If the retaining clip wasn't installed correctly, it may be challenging to remove.
If you encounter difficulties with the retaining clip, there are alternative methods for removing it:
- Using a retaining clip removal tool: This specialized tool helps you easily dislodge the clip.
- Applying lubricant: Lubricating the clip can help loosen it and make removal smoother.
- Using pliers: With the right technique, pliers can be used to gently pry the retaining clip out.
Remember to proceed with caution and ensure the lock is properly secured before attempting to remove the retaining clip.
Cleaning the Lock Components

We recommend starting the process of cleaning the lock components by carefully removing the outer casing using a screwdriver. This step is essential in lock maintenance as it allows access to the internal parts that may require cleaning or lubrication.
Once the outer casing is removed, you'll have a clear view of the lock mechanism, including the springs, pins, and cylinders.
To clean these components, you can use a mild solvent or lock cleaner to remove any dirt, debris, or rust that may have accumulated over time. Gently scrub the components with a soft brush or toothbrush, ensuring that all surfaces are thoroughly cleaned. Pay close attention to the keyway, as this is where most of the dirt tends to accumulate.
After cleaning, it's important to dry the components thoroughly to prevent any moisture buildup that could lead to rust. You can use compressed air or a clean cloth to ensure that all parts are completely dry before reassembling the lock.
Cleaning the lock components is an essential part of lock troubleshooting and maintenance. By keeping the internal parts clean and free from debris, you can ensure smooth operation and extend the lifespan of your residential locks.
Repairing or Replacing Worn Parts
With the lock components now cleaned and free from dirt and debris, the next step in maintaining old residential locks is to address any worn parts that may require repair or replacement.
Here are some key steps to follow when repairing or replacing worn parts:
- Repairing Latch Mechanism: The latch mechanism is a crucial part of the lock that allows the door to securely close and stay locked. Over time, the latch may become loose or worn out, leading to difficulties in locking or unlocking the door. To repair the latch mechanism, start by removing the lock assembly from the door. Inspect the latch for any signs of damage or wear. If the latch is simply loose, you can tighten the screws or replace them if necessary. If the latch is damaged, it's best to replace it with a new one.
- Replacing Broken Springs: Springs play a vital role in the functioning of a lock. They provide tension and help the lock mechanism to operate smoothly. If you notice a spring that's broken or weakened, it's important to replace it promptly. To replace a broken spring, first, remove the lock assembly from the door. Locate the spring and carefully remove it. Then, install a new spring by placing it in the designated slot and securing it properly. Make sure the new spring has the same tension as the old one to ensure proper lock operation.
Lubricating the Lock Mechanism
To ensure optimal functioning, the lock mechanism should be properly lubricated on a regular basis. Regular lock maintenance is of utmost importance to prevent issues such as sticking, jamming, or difficulty in turning the key. By keeping the lock mechanism lubricated, you can extend the lifespan of your lock and avoid costly repairs or replacements.
Choosing the right lubricant for your lock is crucial. It's recommended to use a graphite-based lubricant or a silicone-based lubricant specifically designed for locks. These lubricants offer excellent performance and durability, ensuring smooth operation of the lock mechanism. Avoid using oil-based lubricants as they can attract dust and debris, leading to more frequent lock malfunctions.
When lubricating the lock mechanism, start by cleaning any dirt or debris from the keyhole and surrounding areas using a brush or compressed air. Apply a small amount of lubricant directly into the keyhole, ensuring that it reaches the inner workings of the lock. Turn the key several times to distribute the lubricant throughout the mechanism. Wipe off any excess lubricant with a clean cloth.
Reassembling the Lock

Now that we've successfully lubricated the lock mechanism, it's time to focus on reassembling the lock.
Proper alignment of the lock parts is crucial for the smooth operation of the lock. We'll need to carefully fit the components back together, ensuring that they're in the correct position and properly secured.
Additionally, we'll need to apply a thin layer of lubrication to ensure optimal performance and longevity.
Lock Parts Alignment
After carefully disassembling the lock, we must now meticulously align the various parts to ensure the lock functions smoothly and securely. Proper lock parts alignment is crucial for the lock's overall performance and longevity. Here are three key steps to achieve optimal alignment:
- Inspect the parts: Carefully examine each component, such as the cylinder, latch, and strike plate, for any signs of wear or damage. Replace any faulty parts to ensure proper alignment.
- Align the cylinder: Insert the cylinder into the lock body, making sure it sits flush and rotates smoothly. Adjust the cam, if necessary, to ensure proper alignment with the keyway.
- Check latch and strike plate alignment: Position the latch and strike plate so that they align perfectly when the door is closed. Adjust the strike plate if needed, ensuring a secure fit.
Lubrication for Smooth Operation
We recommend applying lubrication to ensure smooth operation as we reassemble the lock. Proper lock maintenance and lubrication are essential for preventing lock jamming and ensuring the longevity of your lock.
As experienced locksmiths, we understand the importance of using the right lubricant and applying it correctly. Before reassembling the lock, thoroughly clean all the lock components to remove any dirt or debris.
Next, apply a small amount of graphite lubricant to the lock cylinder, keyway, and other moving parts. Be careful not to over-lubricate, as this can attract more dirt and cause the lock to become sticky.
Testing the Lock Functionality
To ensure the proper functionality of old residential locks, it's imperative to conduct a thorough testing process. Testing lock performance is essential in troubleshooting lock issues and identifying any underlying problems.
Here are a few key steps to follow when testing the lock functionality:
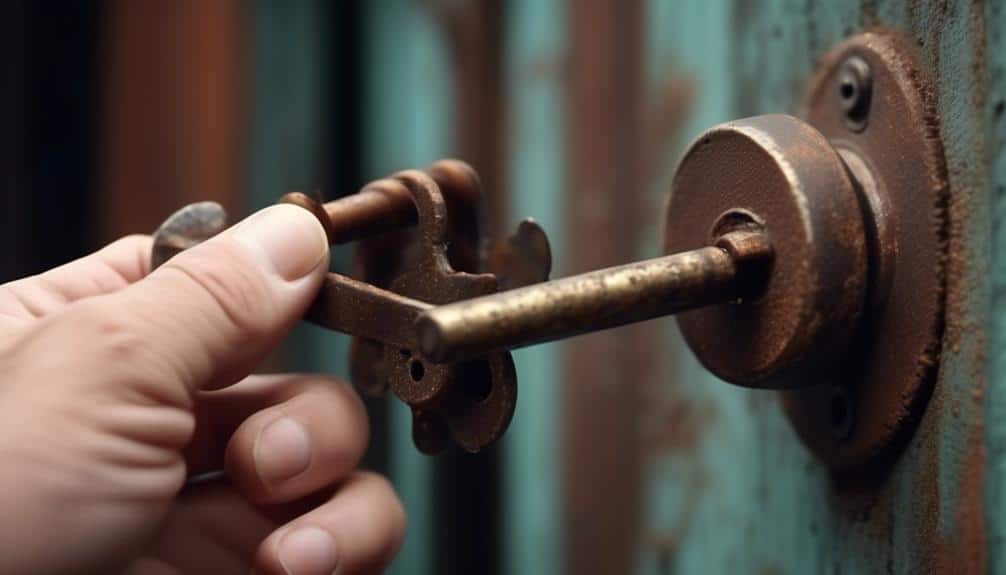
- Check the key insertion: Insert the key into the lock and ensure it goes in smoothly without any resistance. If the key doesn't fit properly or gets stuck, there may be an issue with the lock mechanism or key.
- Turn the key: Rotate the key gently in both directions to test the lock's ability to lock and unlock smoothly. If there's any difficulty or resistance, it may indicate a problem with the internal components.
- Test the latchbolt: Open the door and close it while observing the latchbolt. It should extend and retract smoothly without any sticking or jamming. If the latchbolt doesn't operate correctly, it may need adjustment or replacement.
Enhancing Lock Security Measures

Continuing our exploration of lock functionality, let's now delve into the realm of enhancing lock security measures.
One effective way to improve security is by upgrading to electronic locks. These locks offer advanced features such as keyless entry, remote access control, and activity monitoring. With electronic locks, you can easily manage access by assigning unique codes or using biometric authentication methods like fingerprint recognition. This enhances security by eliminating the risk of lost or stolen keys.
In addition to upgrading to electronic locks, implementing additional security features can further fortify your residential locks. One option is to install a deadbolt lock, which provides an extra layer of protection against forced entry. Deadbolts are stronger and more resistant to picking or bumping compared to standard locks.
Another important security measure is reinforcing the door frame with a strike plate and longer screws. This prevents the door from being kicked in or forced open.
Furthermore, consider installing a security system that integrates with your locks. This allows you to monitor and control your locks remotely, receive real-time notifications of any unauthorized access attempts, and even integrate with other security devices like cameras or alarms.
Frequently Asked Questions
How Do I Know if My Old Residential Lock Can Be Fixed or if It Needs to Be Replaced?
When it comes to determining if your old residential lock can be fixed or if it needs to be replaced, we've the expertise to guide you.
We understand the importance of choosing a reliable locksmith and can provide you with the necessary steps to assess your lock's condition.
By recognizing the signs of a damaged lock that can't be fixed, you can make an informed decision on whether to repair or replace.
Our technical knowledge and experience ensure that your lock concerns are addressed efficiently.
Can I Use Household Cleaning Products to Clean the Lock Components?
Yes, we can use household cleaning products to clean the lock components.
However, it's important to use the proper technique to ensure effective maintenance.
Firstly, we recommend using a mild detergent or soapy water to clean the exterior of the lock.
For the interior components, a non-abrasive cleaner and a soft brush can be used to remove any dirt or debris.
Remember to thoroughly dry the components after cleaning to prevent rust or damage.
What Should I Do if I Encounter a Stubborn Lock Cylinder That Won't Come Out?
When dealing with stubborn lock cylinders, there are a few steps we can take to resolve the issue.
Firstly, we should assess whether the lock cylinder is damaged or simply stuck. If it's damaged, it may need to be replaced. However, if it's just stuck, we can try using lubricants or gently tapping the cylinder to loosen it.
If these methods don't work, it's best to call a professional locksmith to prevent further damage.
Are There Any Special Tools Required for Repairing or Replacing Worn Parts?
Specialized tools aren't always necessary when repairing or replacing worn parts in old residential locks. In fact, many tasks can be accomplished using common household tools. However, it's important to note that certain complex repairs may require specialized tools, such as lock pinning kits or cylinder removal tools.
These tools can greatly assist in the process, providing precision and efficiency. Nonetheless, with the right knowledge and patience, one can often tackle lock repairs with basic tools readily available at home.
How Often Should I Lubricate the Lock Mechanism to Ensure Smooth Functionality?
To ensure smooth functionality, we recommend regular lock maintenance, including lubrication of the lock mechanism.
The frequency of lubrication depends on various factors such as climate and usage. As experienced locksmiths, we suggest lubricating your residential lock at least once every six months.
When it comes to choosing the best lubricants, opt for graphite-based or silicone-based lubricants as they provide excellent protection against rust and ensure optimal performance.