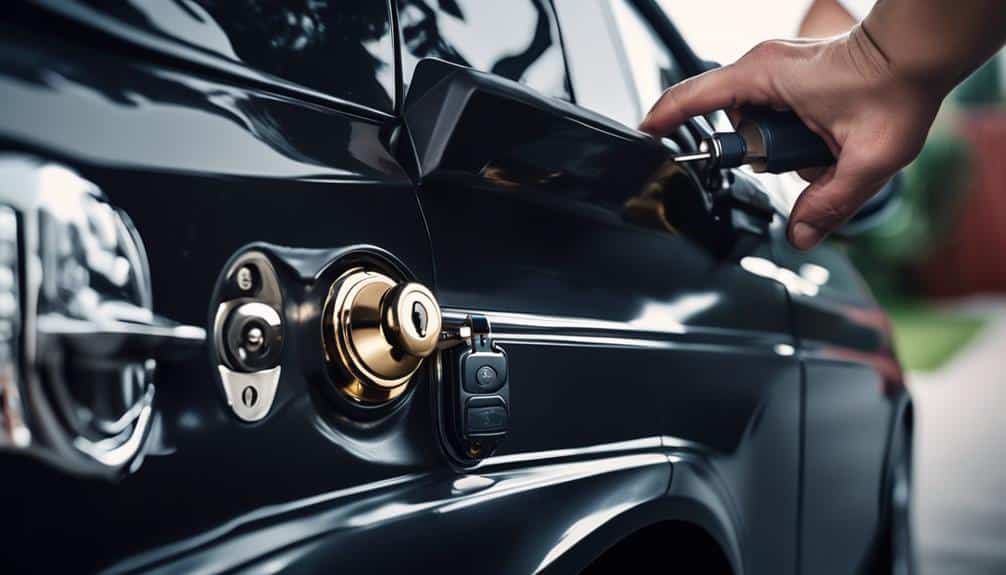
When it comes to our vehicles, we often overlook the importance of properly installed locks. Did you know that a poorly installed lock can compromise the security of your vehicle?
That's why we're here to guide you through the essential steps of automotive lock installation. From understanding the different types of locks to the tools needed for the job, we'll cover everything you need to know to ensure a successful and secure installation.
So, let's dive into the world of automotive lock installation and discover the key to safeguarding your vehicle.
Types of Automotive Locks
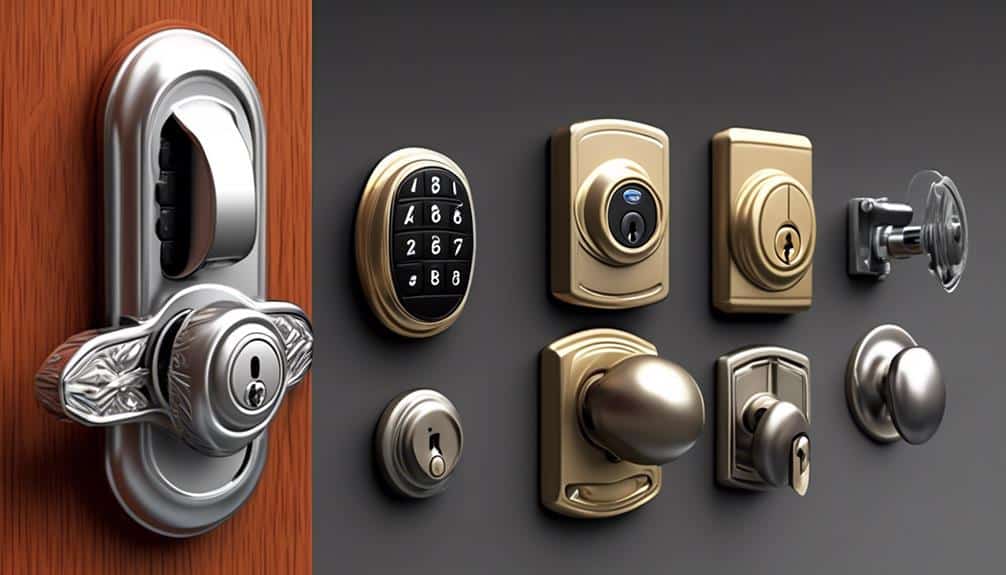
When it comes to automotive locks, there are several types available that provide different levels of security and functionality. Understanding the benefits of using automotive locks and being aware of common issues that may arise can help ensure the safety and security of your vehicle.
One common type of automotive lock is the traditional key lock system. This system requires the use of a physical key to unlock and start the vehicle. While key locks are reliable and have been used for many years, they can be vulnerable to theft or loss of keys.
To address these concerns, many vehicles now come equipped with electronic keyless entry systems. These systems utilize a remote control or key fob to wirelessly unlock and lock the doors. They offer added convenience and security, as they can be programmed to only respond to specific codes or signals.
Another type of automotive lock is the ignition lock cylinder. This component is integrated into the steering column and requires the proper key to start the vehicle. If you experience any issues with the ignition lock cylinder, such as difficulty turning the key or the key getting stuck, it's important to troubleshoot the problem promptly. This may involve cleaning or lubricating the lock cylinder or replacing it altogether.
Tools Needed for Lock Installation
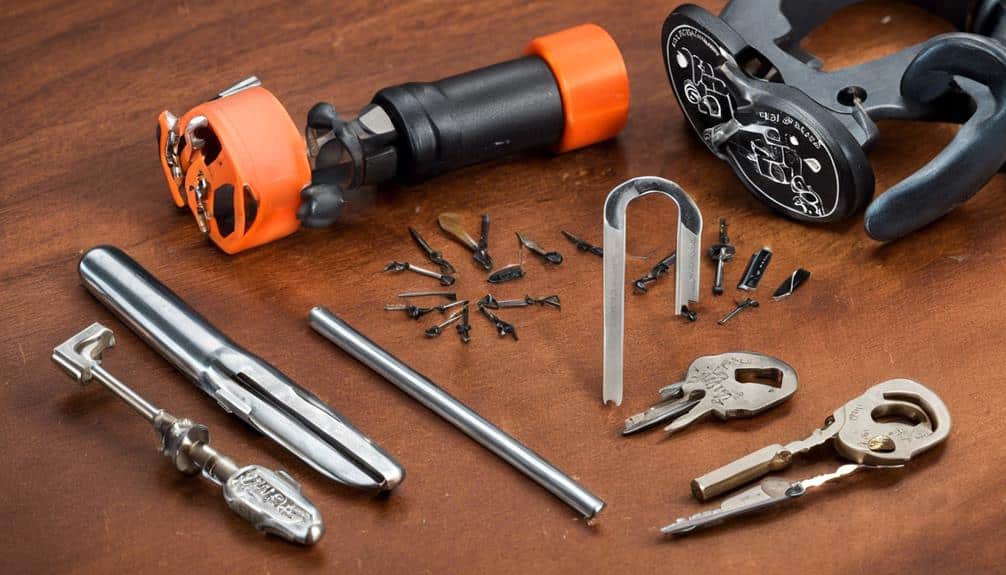
Now let's talk about the tools that are essential for automotive lock installation.
We'll guide you through the step-by-step process of installation, ensuring that you have all the necessary tools at your disposal.
Additionally, we'll provide you with some practical tips to ensure a successful installation.
Required Tools for Installation
To successfully install an automotive lock, it is essential to gather the necessary tools for the job. Having the right tools not only makes the installation process smoother but also ensures that the lock is properly installed, minimizing the risk of common mistakes. Here are the required tools for lock installation:
| Tools | Description |
|---|---|
| Drill | Used to create holes for the lock cylinder and mounting screws |
| Screwdriver | Needed to tighten the mounting screws and secure the lock assembly |
| Chisel | Used to carve out recesses for the strike plate and latch bolt |
| Tape Measure | Essential for accurate measurement of hole placement |
| Pliers | Used to secure wires and connectors during the installation process |
| Hammer | Needed to tap in screws or strike plates for a secure fit |
Step-By-Step Installation Process
After gathering the necessary tools for lock installation, the next step is to carefully follow the step-by-step installation process to ensure a successful and secure installation.
To begin, make sure the vehicle is parked on a level surface and the ignition is turned off. Start by removing the interior door panel, exposing the lock mechanism. Use a screwdriver or a trim panel tool to carefully pry off the panel without damaging it.
Next, locate the lock cylinder and remove any retaining clips or screws. Insert the new lock cylinder into the door, making sure it's aligned correctly. Secure it in place by reattaching any clips or screws.
Tips for Successful Installation
For a successful lock installation, it's essential to have the necessary tools at hand. Having the right tools can make the process smoother and prevent common mistakes.
The first tool you'll need is a drill with a variety of drill bits. This will allow you to create the necessary holes for the lock installation.
Additionally, a screwdriver set is crucial for tightening screws and securing the lock in place.
A chisel is also necessary for properly fitting the lock into the door frame.
Finally, it's important to have a measuring tape to ensure accurate placement of the lock.
In case any issues arise during the installation, it's advisable to have spare screws, lock cylinders, and strike plates on hand to troubleshoot any problems.
Preparing the Vehicle for Lock Installation
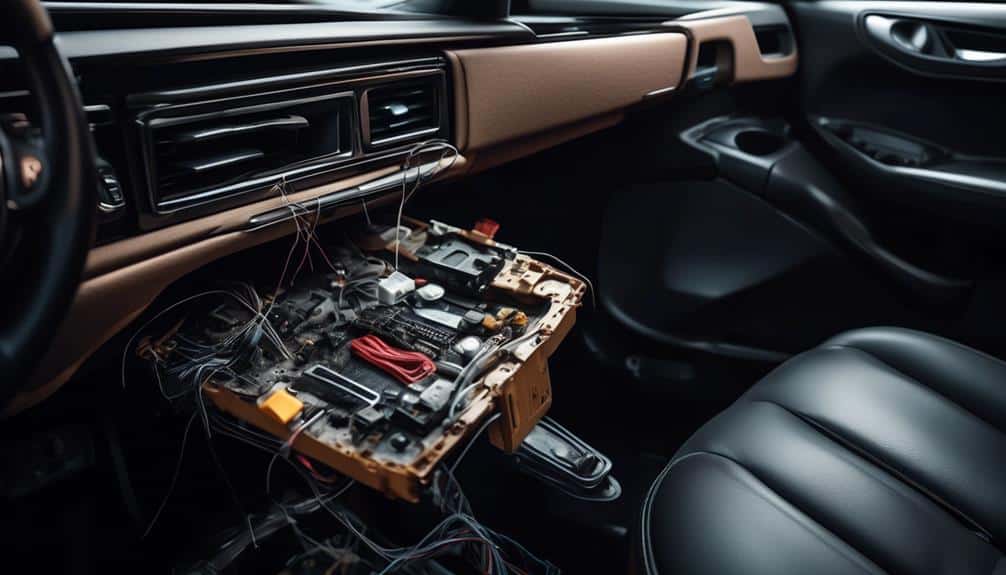
We highly recommend conducting a thorough inspection of the vehicle prior to commencing the installation process of the automotive lock. Vehicle preparation is crucial to ensure a successful and efficient installation. By taking the necessary precautions and carefully examining the vehicle, you can identify any potential issues or obstacles that may hinder the installation process.
To assist you in this process, we have provided a table below that outlines the key areas to inspect before installing the automotive lock:
| Key Areas to Inspect | What to Look For | Necessary Action |
|---|---|---|
| Door Structure | Any signs of damage or corrosion | Repair or replace if necessary |
| Door Alignment | Misalignment or gaps between the door and frame | Adjust the alignment if needed |
| Wiring | Damaged or frayed wires | Repair or replace damaged wires |
| Interior Trim | Loose or damaged trim pieces | Secure or replace the trim pieces |
Removing the Old Lock
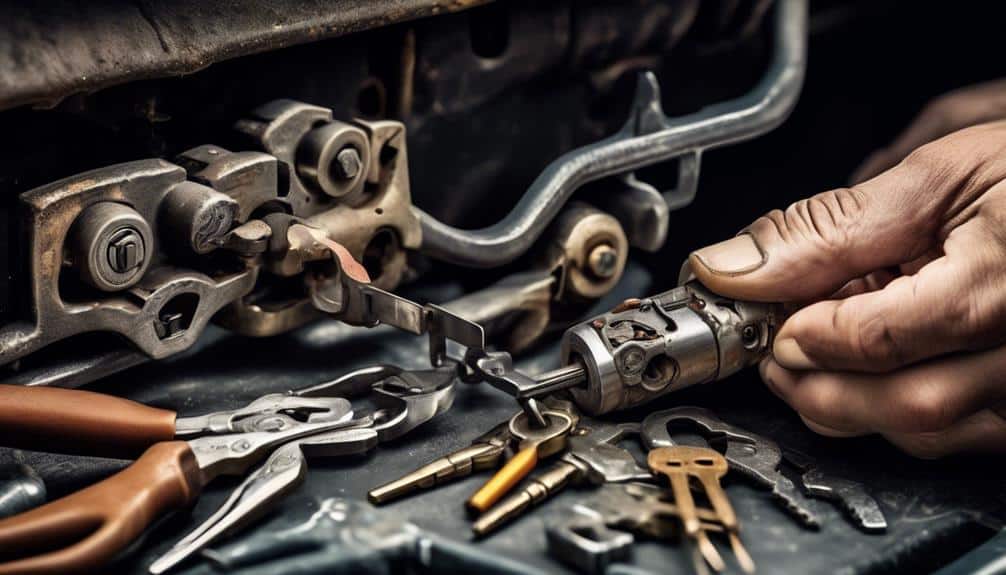
Now, let's move on to the crucial step of removing the old lock.
There are several techniques that can be employed to successfully remove the lock, such as using a lock removal tool or disassembling the lock cylinder.
It's important to have the necessary tools on hand, including a lock removal tool, screwdriver, and pliers.
However, caution must be exercised during the removal process to avoid damaging the surrounding components or causing any accidental harm.
Lock Removal Techniques
To effectively remove the old lock, it's essential to employ precise techniques and tools specifically designed for this task.
One of the most common lock removal techniques is the use of a lock removal tool, which allows for the extraction of the lock cylinder from the door or ignition. This tool is inserted into the lock cylinder and then turned to disengage the locking mechanism.
Another technique involves drilling out the lock cylinder, which requires careful precision to avoid damaging the surrounding components.
Once the lock cylinder is successfully removed, it can be replaced with a new one or rekeyed as part of the lock rekeying process.
Tools Required for Removal
When removing an old lock, it's essential to have the necessary tools that are specifically designed for this task. The right tools will make the lock removal process much smoother and efficient.
One of the most important tools you'll need is a lock removal kit, which typically includes a variety of tools such as lock picks, tension wrenches, and plug spinners. These tools are designed to manipulate the lock components and allow for easy removal.
Additionally, you may also require a drill with various drill bits, a screwdriver set, and a hammer. It's crucial to exercise caution when removing the old lock to avoid damaging the surrounding components or causing any injuries.
Always wear protective gloves and goggles, and follow the manufacturer's instructions and safety guidelines for the specific lock removal techniques.
Precautions When Removing
We must exercise caution and adhere to proper safety protocols when removing the old lock to minimize the risk of damaging surrounding components or causing any injuries.
Here are some precautions to consider:
- Preventing damage:
- Carefully inspect the lock and surrounding area for any signs of wear or damage.
- Use the appropriate tools and techniques to remove the lock without applying excessive force, which can lead to breakage or distortion.
- Safety precautions:
- Wear protective gloves and safety glasses to shield yourself from any sharp edges or debris.
- Disconnect the vehicle's battery to eliminate the risk of electrical shock.
- Follow the manufacturer's instructions and consult the vehicle's service manual for specific safety guidelines.
Measuring and Marking for the New Lock
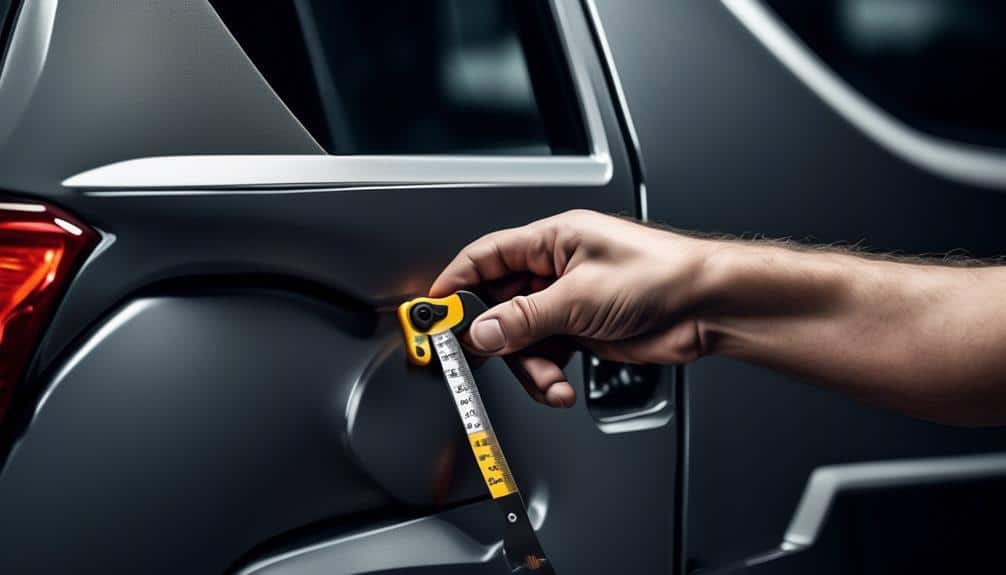
Using precise measurements and clear markings is essential when installing a new automotive lock. Accurate measurements ensure that the lock fits perfectly into the door, providing optimum security. To achieve this, various measuring techniques and marking tools can be utilized.
One commonly used measuring technique is the use of a tape measure. This versatile tool allows us to measure the dimensions of the lock and accurately determine the size of the hole that needs to be drilled. Additionally, a caliper can be used to measure the thickness of the door, ensuring that the lock is compatible.
When it comes to marking tools, a pencil or a marker can be used to make clear and visible markings on the door. These markings indicate where the holes for the lock will be drilled. It is important to use a marking tool that is easily visible and can be easily erased if necessary.
To further illustrate the importance of accurate measurements and clear markings, refer to the table below:
| Measurement | Description |
|---|---|
| Length | Measure the length of the lock |
| Width | Measure the width of the lock |
| Depth | Measure the depth of the lock |
| Hole Size | Determine the size of the hole to be drilled |
| Markings | Make clear and visible markings on the door for drilling |
Installing the New Lock Cylinder
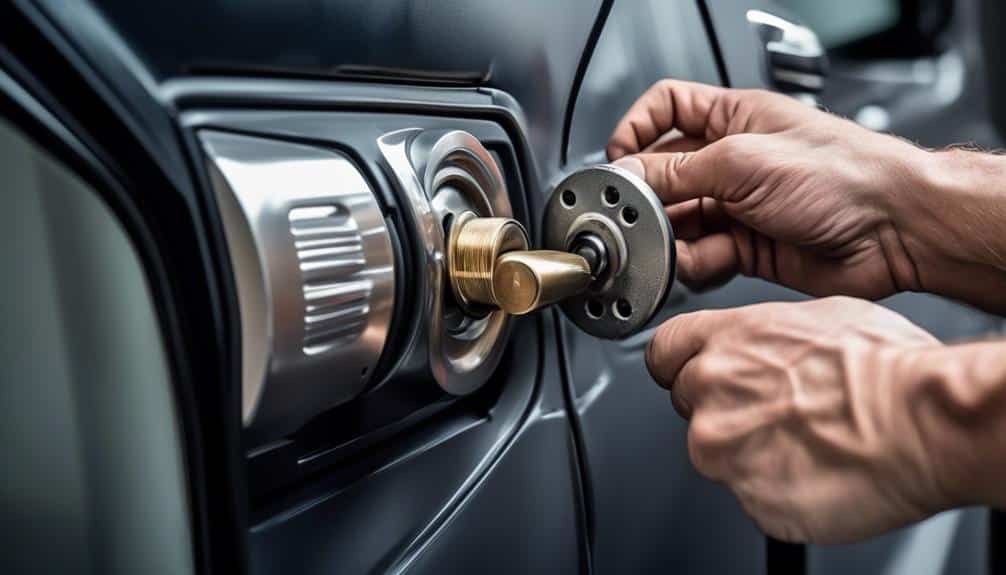
To successfully install the new lock cylinder, precise measurements and markings from the previous step are crucial. Once you have accurately measured and marked the necessary areas on your vehicle, you can proceed with the installation process. Here are some important steps to follow:
- Remove the old lock cylinder:
Start by disconnecting the battery to prevent any electrical mishaps. Then, remove any necessary panels or covers to gain access to the lock cylinder. Next, disconnect the wiring harness and remove any retaining clips or screws that secure the cylinder in place. Carefully pull out the old cylinder and set it aside.
- Install the new lock cylinder:
Begin by inserting the new lock cylinder into the designated slot, making sure it aligns with the markings you made earlier. Gently push it in until it's fully seated. Once in position, reattach any retaining clips or screws to secure the cylinder.
Common mistakes during lock installation:
- Incorrect alignment:
Failing to align the new lock cylinder properly can lead to difficulties in operation or even lock cylinder troubleshooting.
- Neglecting to secure the cylinder:
Forgetting to reattach retaining clips or screws can cause the lock cylinder to become loose, compromising its functionality and security.
Connecting the Locking Mechanism
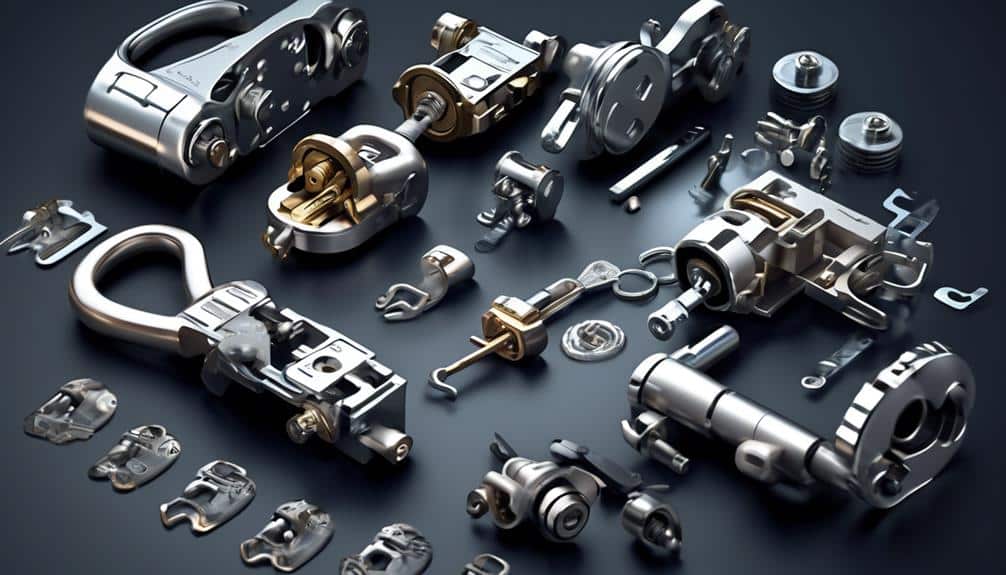
Now let's move on to connecting the locking mechanism.
This step involves understanding the components of the locking mechanism and applying proper installation techniques.
It's crucial to have a clear understanding of how the locking mechanism functions and how each component contributes to its overall operation.
Locking Mechanism Components
We can connect the locking mechanism by carefully inserting the appropriate components into their designated slots, ensuring a secure and functional installation. When it comes to lock maintenance, it's important to address common lock issues to maintain the longevity and functionality of the locking mechanism.
To prepare the lock for installation, follow these steps:
- Insert the lock cylinder into the lock housing, ensuring it's securely in place.
- Attach the lock actuator to the lock cylinder, ensuring proper alignment.
- Connect the lock linkage to the lock actuator, allowing for smooth movement.
- Secure the lock assembly to the door frame using the designated screws.
- Test the lock functionality by operating it with the key and ensuring it locks and unlocks smoothly.
Proper Installation Techniques
In order to ensure a secure and functional installation, the locking mechanism can be connected by carefully inserting the appropriate components into their designated slots.
When connecting the locking mechanism, it's crucial to avoid common installation mistakes that can compromise the security of the vehicle. These mistakes include improper alignment of the components, incorrect installation of the locking pins, and failure to properly secure the lock cylinder.
To prevent these errors, it's advisable to seek the services of a professional lock installation technician. Professional installers possess the necessary expertise and experience to ensure a proper and secure installation. They're well-versed in the intricacies of automotive lock systems and can identify and rectify any potential issues during the installation process.
Testing the Lock Functionality
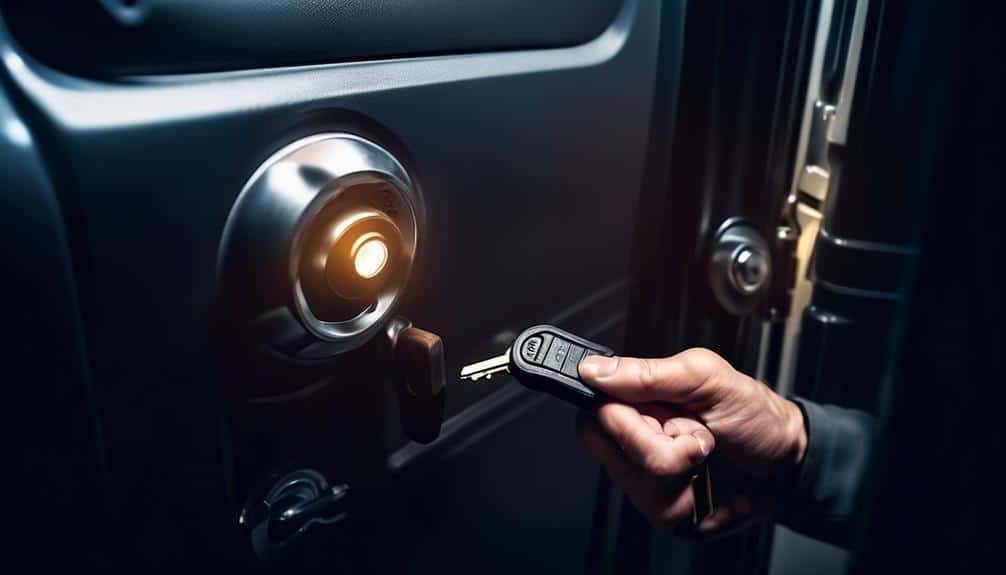
To ensure the proper functioning of the lock, it's essential to conduct a comprehensive test. Testing the lock durability and troubleshooting any lock issues will help ensure that the lock operates smoothly and securely.
Here are the steps to follow for testing the lock functionality:
- Test the lock mechanism:
- Insert the key into the lock and turn it to lock and unlock positions.
- Ensure that the lock engages and disengages smoothly without any resistance or sticking.
- Check if the lock securely holds the door or trunk when locked.
- Test the key operation:
- Insert the key into the lock and turn it to verify that it operates smoothly.
- Ensure that the key is easy to insert and remove from the lock without any difficulty.
- Test the lock with the door or trunk:
- Install the lock in the door or trunk and test its functionality.
- Ensure that the lock securely locks and unlocks the door or trunk.
- Verify that the lock aligns properly with the strike plate or latch mechanism.
Reassembling the Vehicle
After testing the lock functionality, the next step in the process is reassembling the vehicle. This crucial stage requires careful attention to detail and knowledge of reassembling techniques to ensure the proper installation of the automotive lock. Here are some key steps to follow during the reassembling process:
- Gather all the necessary components: Make sure you have all the parts required for reassembling the vehicle, including the lock mechanism, screws, and any other accessories.
- Refer to the vehicle's manual: Consult the vehicle's manual for specific instructions on reassembling the lock. This will help you understand the correct order and placement of each component.
- Align and secure the lock mechanism: Place the lock mechanism in its designated position and align it with the mounting holes. Insert the screws and tighten them securely to ensure the lock remains in place.
- Test the lock: After reassembling the vehicle, test the lock to ensure it functions properly. Check if the key smoothly turns the lock, and ensure the door or trunk can be securely locked and unlocked.
By following these reassembling techniques, you can ensure a successful installation of the automotive lock. However, it's important to be aware of common issues that may arise during this process. Refer to the table below for troubleshooting tips:
| Common Issues | Troubleshooting Techniques |
|---|---|
| Sticky lock | Lubricate the lock mechanism with graphite powder for smoother operation. |
| Misaligned components | Double-check the placement and alignment of each component to ensure they are properly positioned. |
| Difficulty locking | Check if any components are obstructing the lock's movement and adjust accordingly. |
| Key not turning | Verify that the key matches the lock and ensure there are no obstructions or debris inside the lock. |
Additional Tips for Successful Lock Installation
For a successful lock installation, it's essential to follow these additional tips to ensure proper functionality and security.
- Proper Tools and Equipment
- Use high-quality tools specifically designed for lock installation to avoid damaging the lock or the vehicle.
- Ensure that you have all the necessary equipment, such as a drill with the correct size drill bits and screwdrivers of various sizes.
- Thoroughly Read the Instructions
- Carefully read the lock manufacturer's installation instructions before starting the installation process.
- Pay close attention to any specific requirements or recommendations mentioned in the instructions.
- Double-Check Measurements and Alignment
- Before drilling any holes, carefully measure and mark the exact locations where the lock components need to be installed.
- Ensure that the lock components are properly aligned with the door frame and other existing lock hardware.
- Be Mindful of Wiring and Cables
- When installing electronic locks, be cautious of any existing wiring or cables inside the door. Avoid damaging or interfering with them during the installation process.
- Installation Troubleshooting
- If you encounter any difficulties during the installation process, refer to troubleshooting guides provided by the lock manufacturer.
- Common lock installation mistakes include misaligned lock components, loose screws, and improper wiring connections. Double-check for these issues before completing the installation.
Frequently Asked Questions
How Long Does It Typically Take to Install a New Lock Cylinder in a Vehicle?
On average, it takes us about 45 minutes to install a new lock cylinder in a vehicle. However, the actual time may vary depending on the make and model of the car.
During the installation process, we may come across common challenges such as rusty or damaged components. To troubleshoot these issues, we ensure that we have the necessary tools and replacement parts readily available.
Additionally, we carefully follow the manufacturer's instructions to ensure a successful installation.
Can I Install a New Lock Cylinder in My Car if I Don't Have Any Prior Experience With Automotive Locks?
Yes, we can install a new lock cylinder in our car even if we don't have any prior experience with automotive locks. However, it's highly recommended to hire a professional locksmith for this task.
They've the expertise and knowledge to ensure a proper and secure installation. Attempting to install a lock cylinder without experience can lead to common mistakes such as damaging the lock or improper alignment, which can compromise the security of your vehicle.
What Should I Do if the New Lock Cylinder Doesn't Fit Properly in My Vehicle?
If the new lock cylinder doesn't fit properly in our vehicle, there are several steps we can take to troubleshoot and fix the issue.
First, we should double-check that we've the correct lock cylinder for our make and model.
If it's the right one, we can try adjusting the alignment or using alternative methods for securing our vehicle without a properly fitting lock cylinder, such as adding extra locks or reinforcing the existing ones.
If all else fails, consulting a professional locksmith is always a wise choice.
Are There Any Specific Safety Precautions I Should Take During the Lock Installation Process?
During lock installation, it's important to take specific safety precautions to ensure a successful and secure installation.
Common mistakes to avoid include failing to disconnect the vehicle's battery, which can result in electrical shock or damage to the vehicle's electrical system.
Additionally, it's crucial to wear protective gloves and eyewear to prevent injury from sharp edges or debris.
Following these safety measures will help ensure a smooth and safe lock installation process.
Can I Use the Same Key for the New Lock Cylinder, or Do I Need to Get a New Set of Keys?
When installing a new lock cylinder in your vehicle, it's generally recommended to get a new set of keys rather than reusing the old ones. This is because the new lock cylinder may have a different key profile, requiring a different key to operate it.
Additionally, using the same key for the new lock cylinder can potentially compromise the security of your vehicle. Therefore, it's advisable to get a new set of keys to ensure proper functionality and security.

