
Unlock the secrets to automotive lock rekeying with these easy steps.
Imagine yourself as a locksmith, effortlessly sliding into the world of automotive security, armed with the knowledge to transform any lock into a fortress.
But how exactly can you accomplish this feat? Stay tuned as we unveil the simple yet effective steps that will enable you to rekey automotive locks with ease.
From gathering the necessary tools to testing the final product, each step will bring you closer to unlocking the secrets of automotive lock rekeying.
So, are you ready to embark on this journey?
Gather Necessary Tools and Materials

To begin the process of automotive lock rekeying, gather all the necessary tools and materials in order to ensure a smooth and efficient task. The implications of using incorrect tools can lead to damage or malfunction of the lock mechanism, resulting in additional time and cost to fix the problem. Therefore, it's crucial to have the right tools at your disposal.
One of the key tools required for automotive lock rekeying is a lock pick set. This set typically includes picks, tension wrenches, and other specialized tools that allow you to manipulate the lock pins and springs. It's essential to use the correct pick for each specific lock type to avoid damaging the lock.
In addition to the tools, the importance of using proper material quality can't be overstated. Substandard or low-quality materials can compromise the effectiveness and durability of the lock. Ensure that you have high-quality replacement lock cylinders and pins that are compatible with the make and model of the vehicle you're working on.
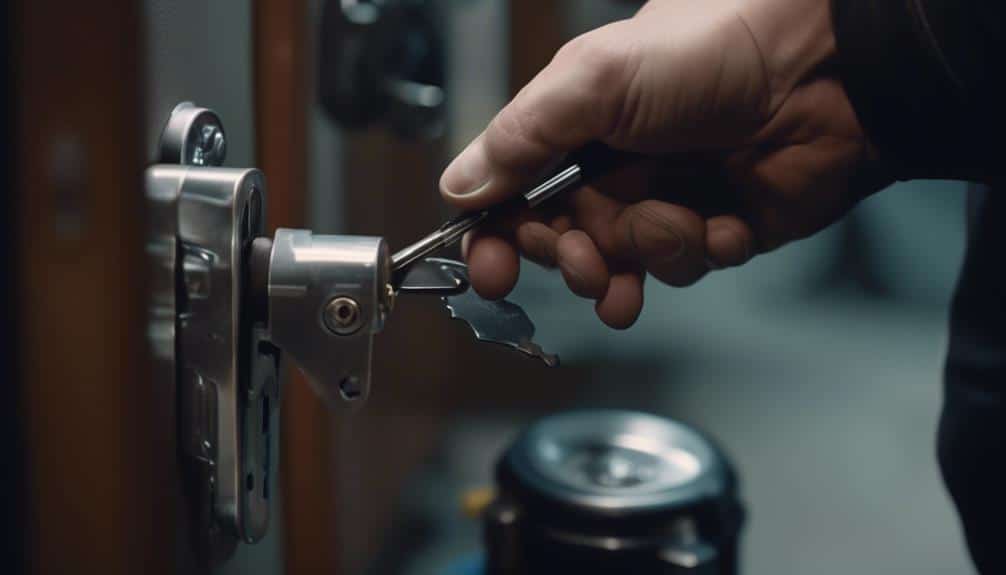
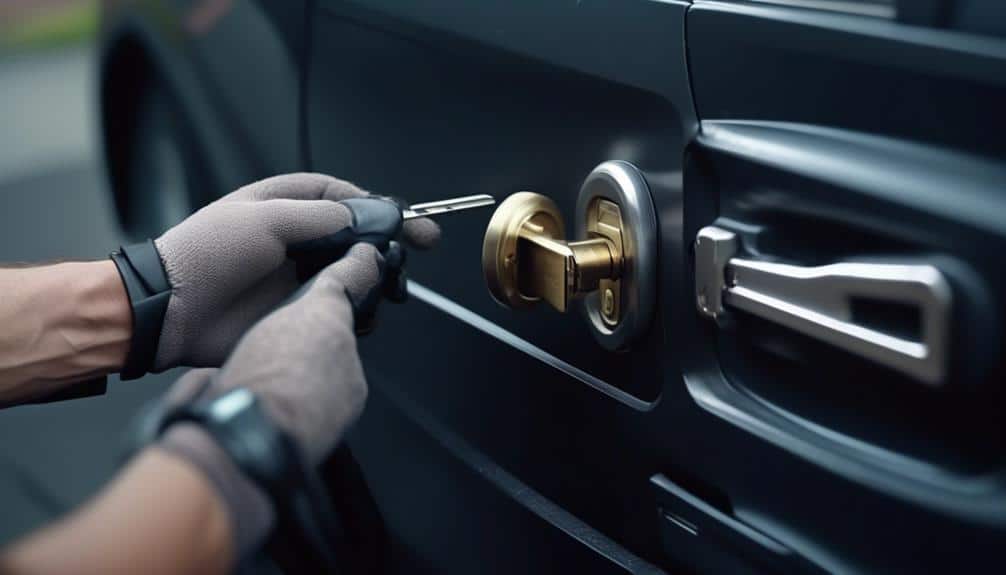
Remove the Lock Cylinder From the Door

Begin by carefully removing the lock cylinder from the door using the appropriate tools and techniques. The lock cylinder removal is a crucial step in the automotive lock rekeying process, and it requires precision and attention to detail. To assist you in understanding the process better, here are some lock cylinder removal techniques and troubleshooting common issues that may arise during this step:
| Lock Cylinder Removal Techniques | Troubleshooting Common Issues |
|---|---|
| Use a lock removal tool | Difficulty in turning the key |
| Apply lubricant to loosen the cylinder | Cylinder stuck or jammed |
| Use a key extractor tool | Key broken inside the cylinder |
| Utilize a cylinder puller | Cylinder spins freely without unlocking |
When removing the lock cylinder, it is important to have a clear understanding of the specific make and model of the vehicle to ensure the correct tools and techniques are used. If you encounter any difficulties during the removal process, refer to the troubleshooting column for potential solutions. It is crucial to address any issues promptly to avoid further damage to the lock cylinder or the door. By following these lock cylinder removal techniques and troubleshooting common issues, you can successfully remove the lock cylinder from the door and proceed with the automotive lock rekeying process.
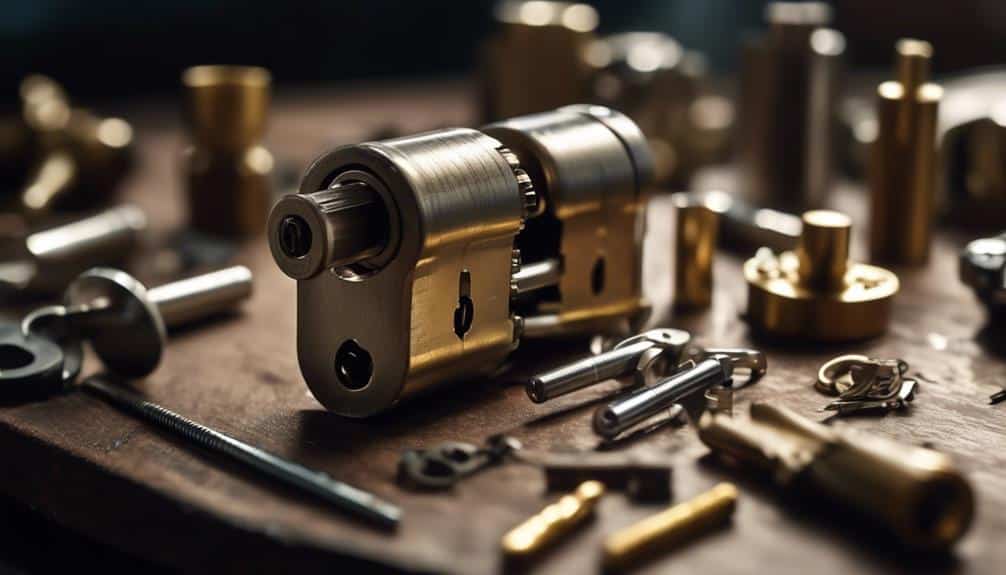
Disassemble the Lock Cylinder
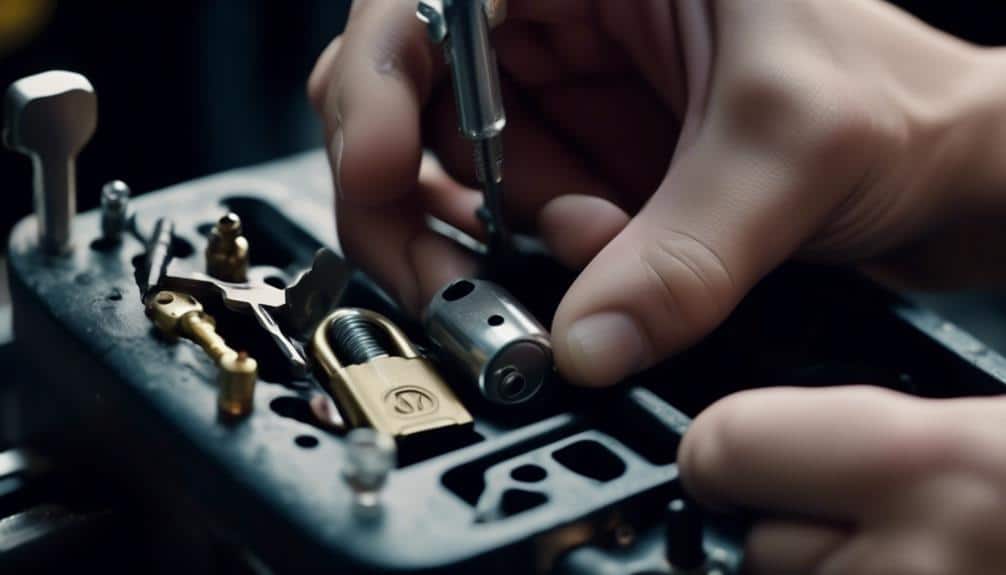
After successfully removing the lock cylinder from the door, the next step is to disassemble the lock cylinder. This step is crucial in the process of automotive lock rekeying as it allows you to access the pins and springs inside the cylinder. Here are the detailed steps to disassemble the lock cylinder:
- Begin by locating the retainer pin on the side of the cylinder. This pin holds the cylinder together and needs to be removed.
- Insert a small flathead screwdriver into the hole next to the retainer pin and gently push it in to release the pin.
- Once the pin is removed, carefully slide the cylinder out of the housing.
With the cylinder in your hand, you can now remove the plug from the cylinder body.
- Use a plug follower to prevent the pins and springs from falling out.
- Insert the plug follower into the back of the cylinder and push it through, sliding the plug out.
It is important to note that disassembling a lock cylinder requires precision and care. Common mistakes to avoid during this process include applying too much force, using the wrong tools, or losing track of the pins and springs.
Hiring a professional locksmith can provide several benefits, such as expertise, experience, and the guarantee of a successful lock rekeying process.
Remove the Old Pins and Springs
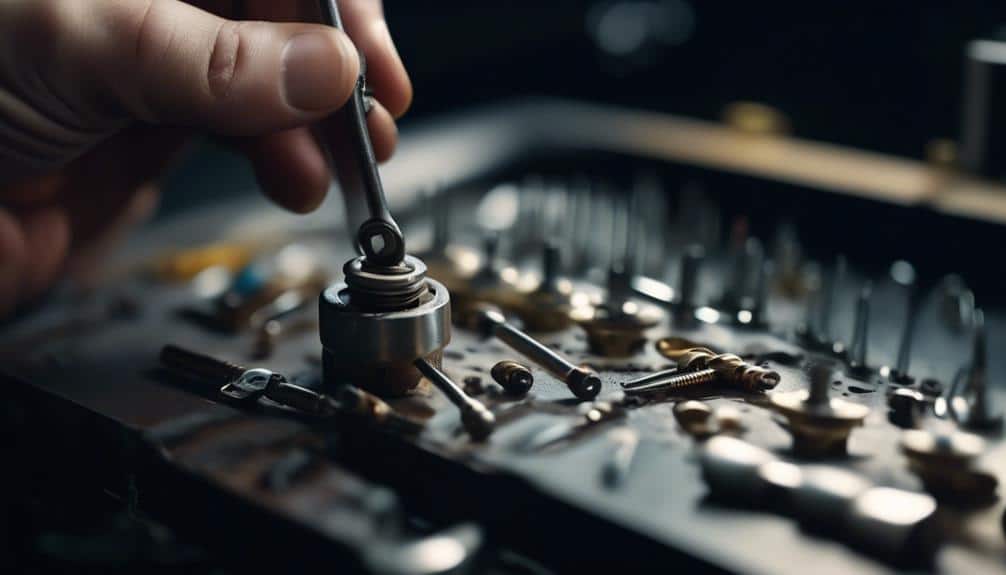
To remove the old pins and springs, carefully extract them from the cylinder using a pair of needle-nose pliers. This step is crucial in the rekeying process as it allows you to replace the existing pins and springs with new ones that correspond to the new key.
Begin by inserting the needle-nose pliers into the keyway and locating the first pin. Gently grip the pin with the pliers and pull it out of the cylinder. Repeat this process for each pin until all of them have been removed. Take care to keep the pins in order so that you can easily identify their sizes later on.
Next, move on to removing the springs. These small, cylindrical pieces are located between each pin and help to provide tension within the lock. Use the needle-nose pliers to grab hold of the top of the spring and carefully pull it out of the cylinder. Be cautious not to bend or damage the springs during this process.
Once all the old pins and springs have been removed, you're ready to proceed with the next step in the rekeying process.
Determine the New Pin Combination
Now that the old pins and springs have been carefully removed from the cylinder, the next step in the rekeying process is to determine the new pin combination. This is a critical part of the process as it ensures the security of the lock and prevents unauthorized access. Proper pin combination selection is of utmost importance as it directly affects the effectiveness of the rekeying process.
To determine the new pin combination, follow these steps:
- Examine the key that will be used for the lock. The key will have cuts of varying depths along its length, corresponding to the specific pin heights required to operate the lock.
- Refer to the manufacturer's pinning chart to identify the pin depths that correspond to the cuts on the key. This chart provides the necessary information to select the appropriate pins for each chamber in the lock.
- Consider any specific requirements or security measures for the lock. Some locks may require specific pinning patterns or restrictions to enhance security.
- Select the pins that match the pin depths indicated by the key and the manufacturer's pinning chart. Ensure that the selected pins fit securely in the chambers of the lock cylinder.
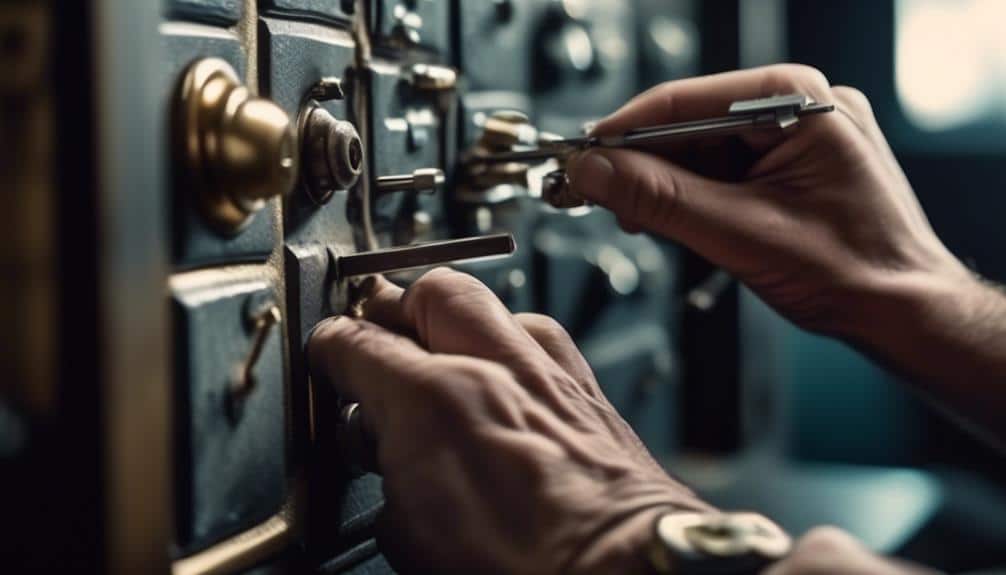
Reassemble the Lock Cylinder
To reassemble the lock cylinder, carefully place the selected pins back into their respective chambers, ensuring a secure fit. Begin by lubricating the inside of the lock cylinder using a graphite-based lubricant. This will help reduce friction and ensure smooth operation of the lock. Apply a small amount of lubricant to a key and insert it into the lock cylinder, turning it back and forth to distribute the lubricant evenly.
Next, take the pins that were removed earlier and place them back into the chambers according to the pin combination you determined. It's crucial to match the length of each pin to the corresponding chamber, as this will determine the key's ability to unlock the cylinder. Use a plug follower to hold the pins in place as you reassemble the lock cylinder.
Once all the pins are in place, gently push the plug back into the cylinder, ensuring it fits snugly. Test the lock with the new key to make sure it turns smoothly and unlocks the cylinder. If there are any issues, double-check the pin placement and make any necessary adjustments.
Rekeying the lock cylinder is a cost-effective alternative to replacing the entire lock. With the right tools and a bit of patience, you can easily reassemble the lock cylinder and have it working like new again.
Test the Newly Rekeyed Lock Cylinder
Now that you have reassembled the lock cylinder, it's important to test its functionality.
Begin by checking if the lock is able to rotate smoothly and without any resistance.
Next, insert the newly rekeyed key into the lock and ensure that it goes in smoothly and is able to turn the lock cylinder.
Lock Functionality Check
Begin by testing the lock cylinder that has been newly rekeyed to ensure its functionality. This step is crucial to verify that the rekeying process was successful and that the lock is working correctly. To perform the lock functionality check, follow these simple steps:
- Insert the key into the lock cylinder and turn it clockwise and counterclockwise to test its smoothness of operation.
- Check for any resistance or sticking points while turning the key. If you encounter any issues, it might indicate a problem with the rekeying process or lock maintenance.
Troubleshoot lock issues by removing the lock cylinder and inspecting it for any visible damage or debris. If necessary, clean the lock cylinder using compressed air or a specialized lock cleaner to ensure smooth operation.
Key Insertion Test
After successfully checking the lock functionality, the next step is to perform the key insertion test on the newly rekeyed lock cylinder to ensure its proper operation.
Key insertion techniques are crucial in troubleshooting key insertion problems that may arise. Start by taking the newly rekeyed key and insert it into the lock cylinder. Gently push the key into the cylinder until it reaches the deepest point.
Rotate the key in a clockwise direction to engage the lock mechanism. Pay close attention to any resistance or difficulty in inserting or turning the key. If the key doesn't insert smoothly or if it gets stuck or jams, it indicates a problem with the rekeying process.
In such cases, it's necessary to reevaluate the key and lock cylinder to identify any issues that may require further adjustment or correction.
Lock Cylinder Rotation
To test the newly rekeyed lock cylinder, insert the key and rotate it clockwise to engage the lock mechanism, ensuring smooth operation without any resistance or difficulty. This step is crucial in determining the success of the rekeying process.
Once the key is fully inserted and turned, pay close attention to the feel and sound of the lock cylinder. A properly rekeyed lock cylinder should rotate smoothly and effortlessly, without any grinding or sticking.
If you encounter any resistance or difficulty during rotation, it may indicate a need for lock cylinder lubrication. Common lock cylinder problems that can be identified during this test include misalignment of the pins, worn-out springs, or debris accumulation.
Proper lubrication can often resolve these issues, ensuring optimal performance of the rekeyed lock cylinder.
Frequently Asked Questions
How Long Does It Generally Take to Rekey an Automotive Lock Cylinder?
Rekeying an automotive lock cylinder generally takes around 30 minutes to an hour, depending on your level of experience and familiarity with the process.
To complete the task, you'll need a few necessary tools such as a key decoder, pinning kit, and a plug follower.
These tools will assist you in removing the old pins and springs, and replacing them with new ones to match the new key.
With practice, you can become proficient in rekeying automotive lock cylinders efficiently.
Can I Rekey My Car's Lock Cylinder Without Any Prior Experience or Knowledge?
You might feel like a fish out of water when it comes to rekeying your car's lock cylinder without any prior experience or knowledge. However, fear not! The rekeying process can be a breeze if you follow some easy steps.
All you need are a few required tools, a little patience, and a willingness to learn. With the right guidance, you'll soon be swimming in the waters of automotive lock rekeying like a pro!
Are There Any Specific Safety Precautions I Should Take While Rekeying an Automotive Lock Cylinder?
When rekeying an automotive lock cylinder, it's crucial to take certain safety precautions to ensure a successful and safe process.
First, make sure to wear protective gloves to prevent any injuries.
Additionally, keep the area well-lit and free from distractions to avoid any mistakes.
It's also important to have the necessary tools required for rekeying, such as a plug follower and a key decoder.
Can I Rekey My Car's Lock Cylinder if the Key Is Broken Inside the Lock?
If you find yourself in a situation where your car key is broken inside the lock, don't worry, you can still rekey the lock cylinder.
The first step is to remove the broken key from the lock using a pair of needle-nose pliers or a broken key extraction tool.
Once the key is out, you can proceed with the rekeying process as usual.
Make sure to follow the proper steps and use the right tools to ensure a successful rekeying process.
Is It Possible to Rekey a Lock Cylinder if I Don't Have the Original Key?
Yes, you can rekey a lock cylinder even if you don't have the original key. Rekeying locks involves changing the internal pins and springs of the lock cylinder to match a new key. This process requires specialized tools and knowledge.